Tag Archives: 35mm

Walking on the beach with some 35mm Kentmere 400 (and a little Tri-x)

In the summer of 2022 I made a quick trip to Wilmington, NC. I was there to help some family members pack up and move out of town. It was a quick in and out over a weekend. I knew I would have one evening to myself so I planned on going down to Kure Beach to make some black and white photographs of the sand and surf.
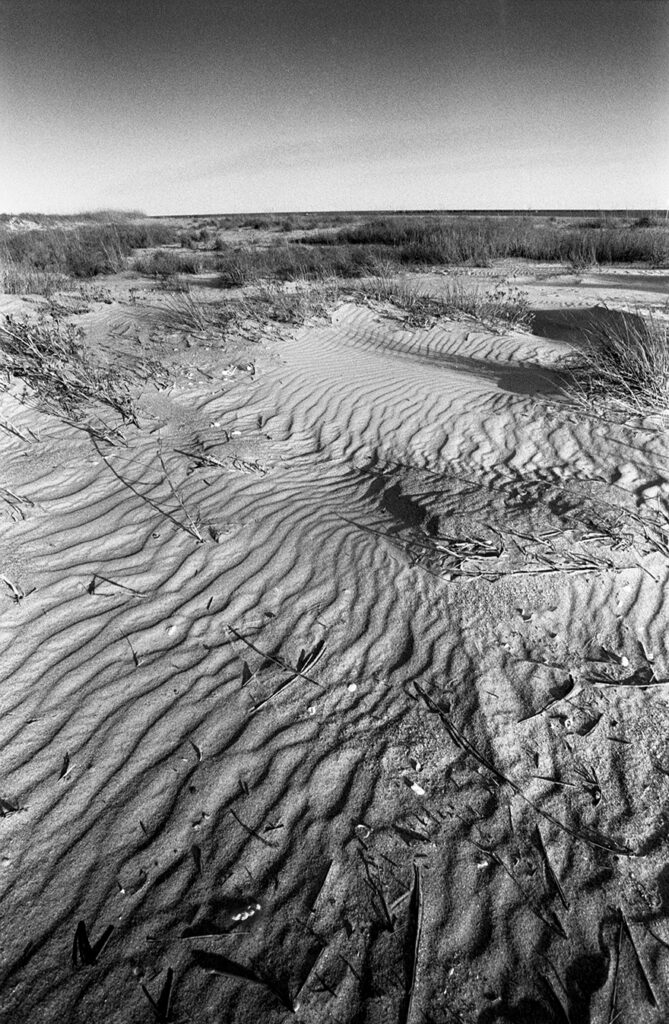
Kure Beach, NC
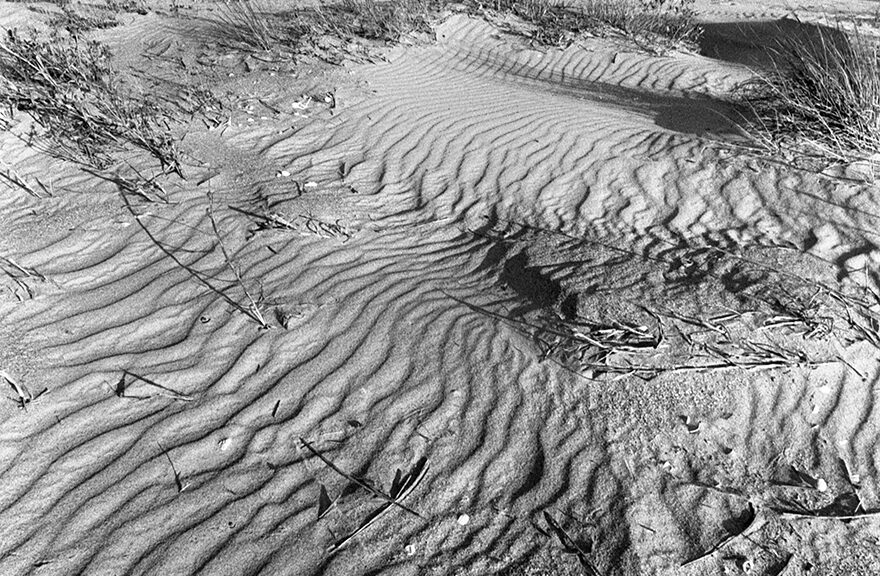
Rippling sands in between the grass on Kure Beach, NC. (Nikon N90s, Nikkor 24-35 AF, Kentmere 400, Xtol 1:1)

After a long hot couple of days of packing and loading I grabbed my gear with about 2 hours before sunset and headed out to Kure Beach. I knew there was a pier on the beach and some vehicle access but I had not been there before, so I didn’t really know what to expect. The sky was clear so there was no hope of getting a moody sky over the ocean. I had to work with what I had. I wasn’t disappointed when I arrived.
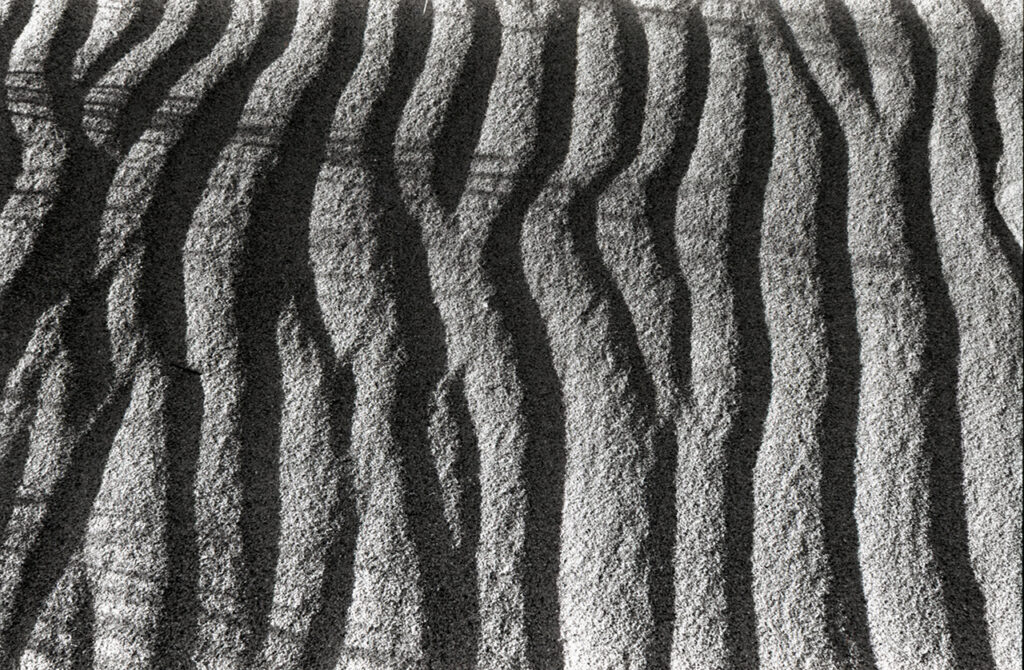
Kure Beach, NC sand ripples
Ripples in the sand at Kure Beach (Nikon N90s, Nikkor 24-35 AF, Kentmere 400, Xtol 1:1)

The sun was long and golden, but setting pretty fast and getting softer and softer as my time on the beach went on. I started out with a roll of Kentmere 400. I had not shot this film before and wanted to give it a try to see how it held up. I normally shoot Kodak Tri-X, but I was looking for a new film to switch to because the cost of Tri-X has gotten a bit high for me to just throw in the camera and shoot.

After looking at the spec sheet of Kentmere 400 and the curve that Ilford provides I thought it could be a promising replacement. I love the way Tri-X has some separation from the mid tones from the blacks. Something about it is just fantastic. I was hoping Kentmere 400 could get close. All the other films I have tried up to this point were either too even (flat) in their tonal rendition or too expensive.
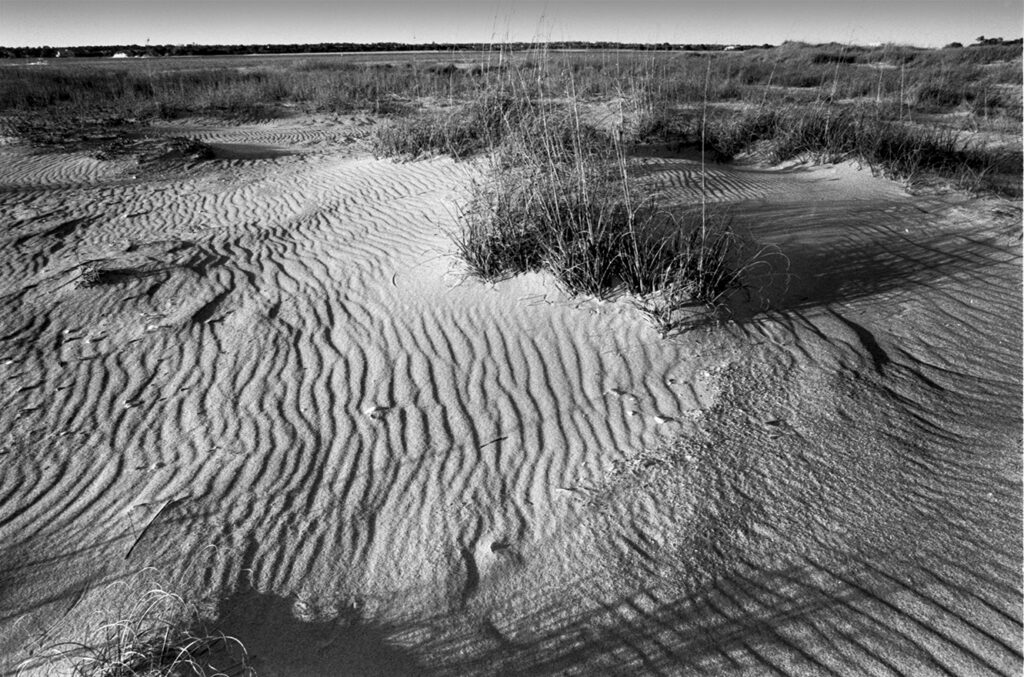
Kure Beach, NC sand ripples
Sand ripples in the grass at Kure Beach, NC (Nikon N90s, Nikkor 24-35 AF, Kentmere 400, Xtol 1:1)

I started shooting the sand and the grass as the sun started heading down casting long raking light across the ripples revealing wonderful patterns and texture. I had to keep in mind to make sure I didn’t just walk over the sand and leave footprints all over, ruining any possible compositions. Metering was tricky for sure but I used the matrix meter on the shadow areas of the beach and decided to let the Kentmere 400 put the highlights where it wanted. I have to say I was pretty pleased with how this film handled it.
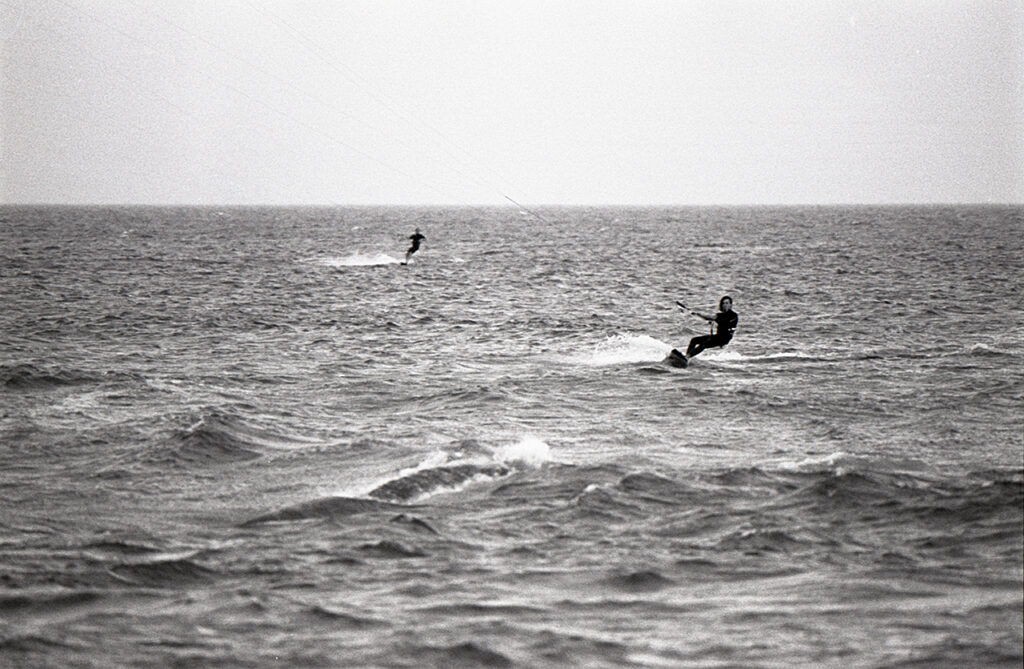
kite boarder Kure Beach, NC
Kite boarders race across the surf at Kure Beach, NC. (Nikon N90s, Tokina 300 f4 AT-X AF, Kentmere 400, Xtol 1:1)

Once I was done with the sand and grass I started down the beach. There were a dozen or so kite surfers out jumping and carving the waves. What cool thing to watch. I stopped and pulled out my tripod and swapped my lens for my 300mm Tokina prime. Once I got set up these guys saw me and started showing off. What a treat. I was loosing some light as the sun kept dropping and my shutter speeds were just on the edge of too slow but I managed to get a couple acceptable shots.
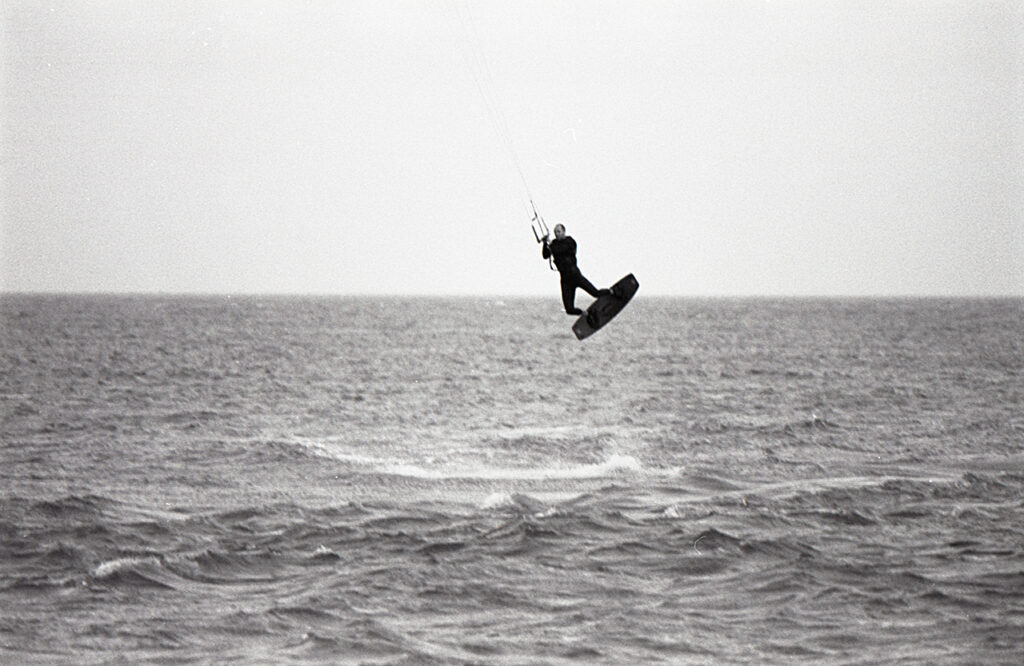
kite surfer jumping in the air
Kite surfer jumping in the air over the waves at Kure Beach, NC. (Nikon N90s, Tokina 300 f4 AT-X AF, Kentmere 400, Xtol 1:1)

There wasn’t many people on the beach that evening but I wanted to test the limits of the Kentmere with a backlit silhouette shot of some people walking on the beach. I am a sucker for back lit black and white photographs. I hung out a little, while the kite surfers were starting to come in for the day. Up the beach, with the sun almost at their backs, was a family doing some beach combing. Perfect. I kept the 300mm on and swiveled my camera around on the tripod and made a few exposures. I metered for the sky and stopped down one stop and took some shots.
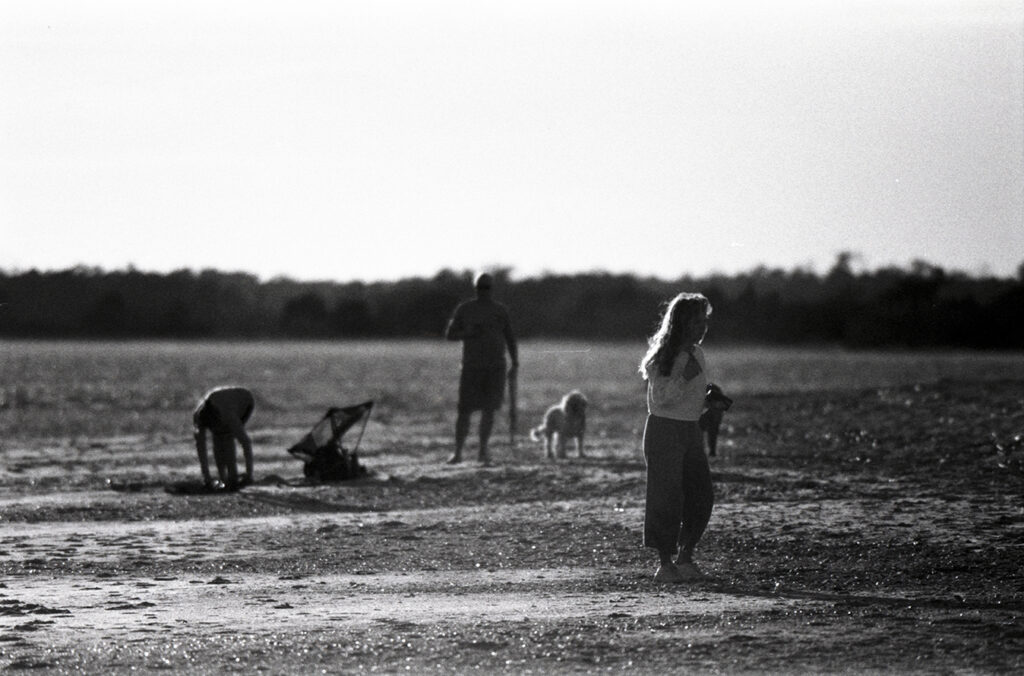
beach combers Kure Beach, NC
Family of beach combers on Kure beach, NC. (Nikon N90s, Tokina 300 f4 AT-X AF, Kentmere 400, Xtol 1:1)

I knew I wanted to head down the beach to the Kure Beach Pier for some minimal long exposure shots. It was a little bit of a walk so I packed up and started down the beach. I remembered seeing some amazing wave photographs by some photographers I follow on social media and thought I would try to get some images of the waves on my way down to the pier. The waves weren’t much to look at compared to the giant ones I have seen but why not… So I shot a bunch of frames as I walked. It was fun.
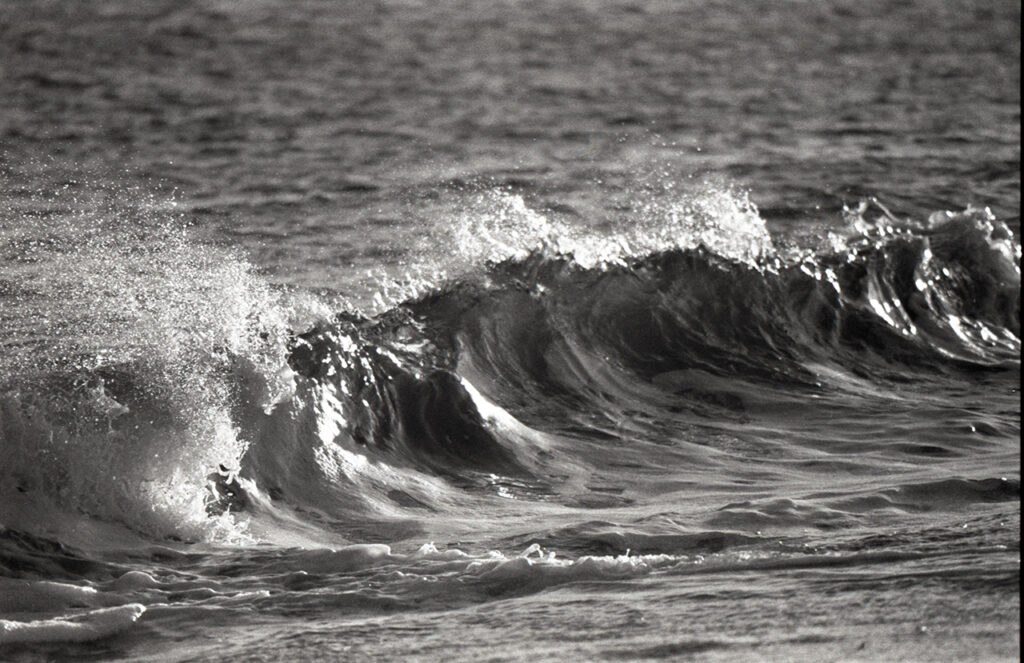
waves at Kure Beach, NC
Waves rise and fall onto the beach at Kure Beach, NC. (Nikon N90s, Tokina 300 f4 AT-X AF, Kentmere 400, Xtol 1:1)

By the time I got down to the pier I shot through all of my Kentmere 400. I had to reload with Tri-X. With my Nikon reloaded I started taking stock in what the pier had to offer. The sun had set, and the last of the light was fading. Lights on the pier came on and it was a beautiful evening on the beach. I made some images on either side of the pier but nothing that excited me. Then I decided to go under the pier for that long look down the pylons.
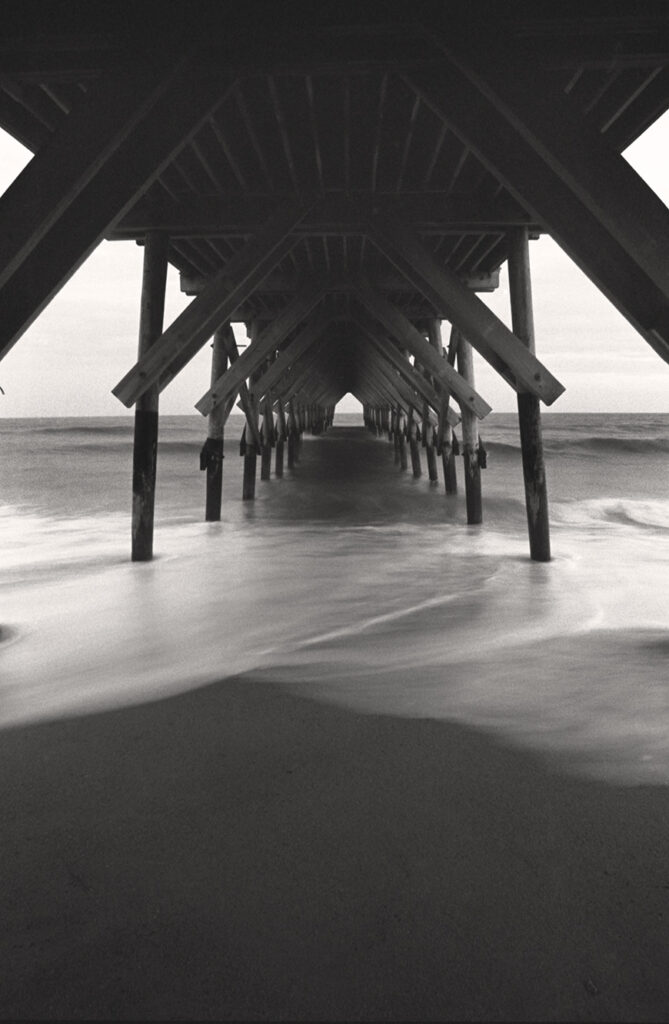
Kure Beach Pier
Soft long exposure under the Kure Beach Pier. (Nikon N90s, Nikkor 24-35 AF, Kentmere 400, Xtol 1:1)

I set up directly in the middle of the pylons looking down the pier out to sea. I just loved the way the pier made a little house shape at the very end. Nice piece of interest to direct the eye. Directly behind me were some teenagers hanging out in some hammocks they strung up between the pylons. Right behind me… like 3 feet behind me. I made my meter reading in camera, calculated reciprocity and started shooting with my cable release. I wanted something smooth but still some view of the waves instead of the totally flat ghosting of the water so I kept my shutter speed on the shorter side. The image above is my favorite of the series I captured.

What to I think about Kentmere 400 along side of Tri-X? I have to say that I really liked it. I wanted to find a black and white film that would fit in with my existing development process that gave me similar results. Kentmere 400 in Xtol 1:1 is pretty close to Tri-X in my view. Contrast and tonal range is very similar. The grain structure is very similar too. I was happy enough with my results I ordered a bulk roll of the Kentmere 400. I will do some more experimenting on development times with the Kentmere 400 to see if I can get a closer look to Tri-X but I think if I were to put two images side by side, one Kentmere and one Tri-X, it would be hard to tell the difference.

If you are wondering if Kentmere 400 is worth adding to your creative workflow I would say it is absolutely worth it. Your mileage may vary, but I wouldn’t hesitate. Load it up and get out and shoot.

Keeping it Simple

Last summer my wife and I made it back to Montana to visit some friends and hang out in the area we used to live in. There were a lot of things to do, people to see and general catching up. I didn’t really make big photo plans for this trip so, photographically speaking, I packed pretty light. Limiting myself to my 35mm camera, a couple lenses and a few rolls of black and white Tri-x we hit the road for Montana.

We were able to spend a week with some close friends on the Gallatin river just outside Bozeman and hit all of our favorite restaurants. Our dog was in heaven again. Being able to roam freely along the river and hang out in the sun whenever and where ever she wanted. It was a very relaxing time.

Photographically, it was a place I had been many times before, for some reason I wasn’t really inspired to make photographs. Maybe because it felt so familiar. Not really sure, because it is a beautiful place to photograph.

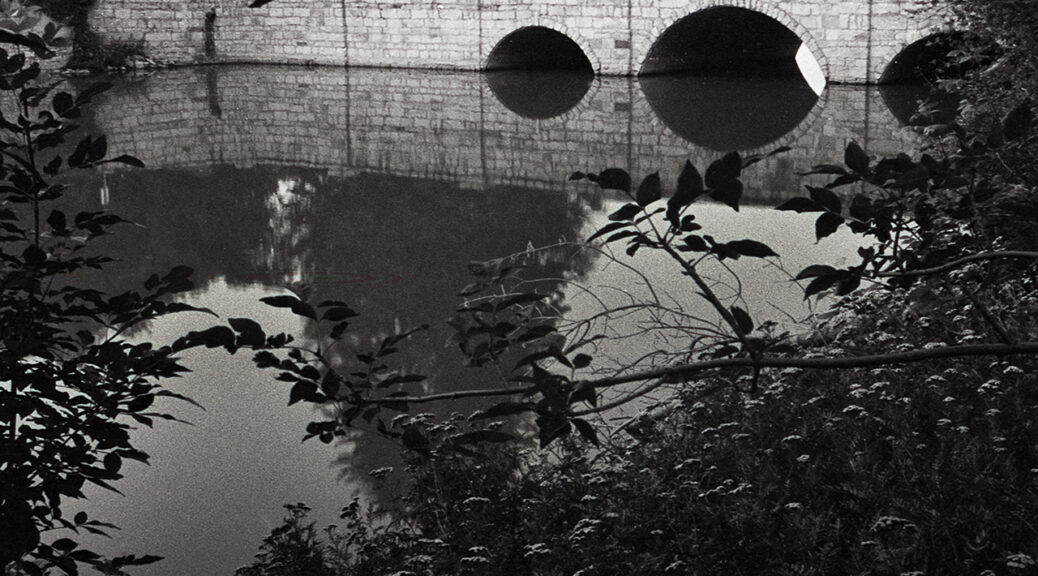
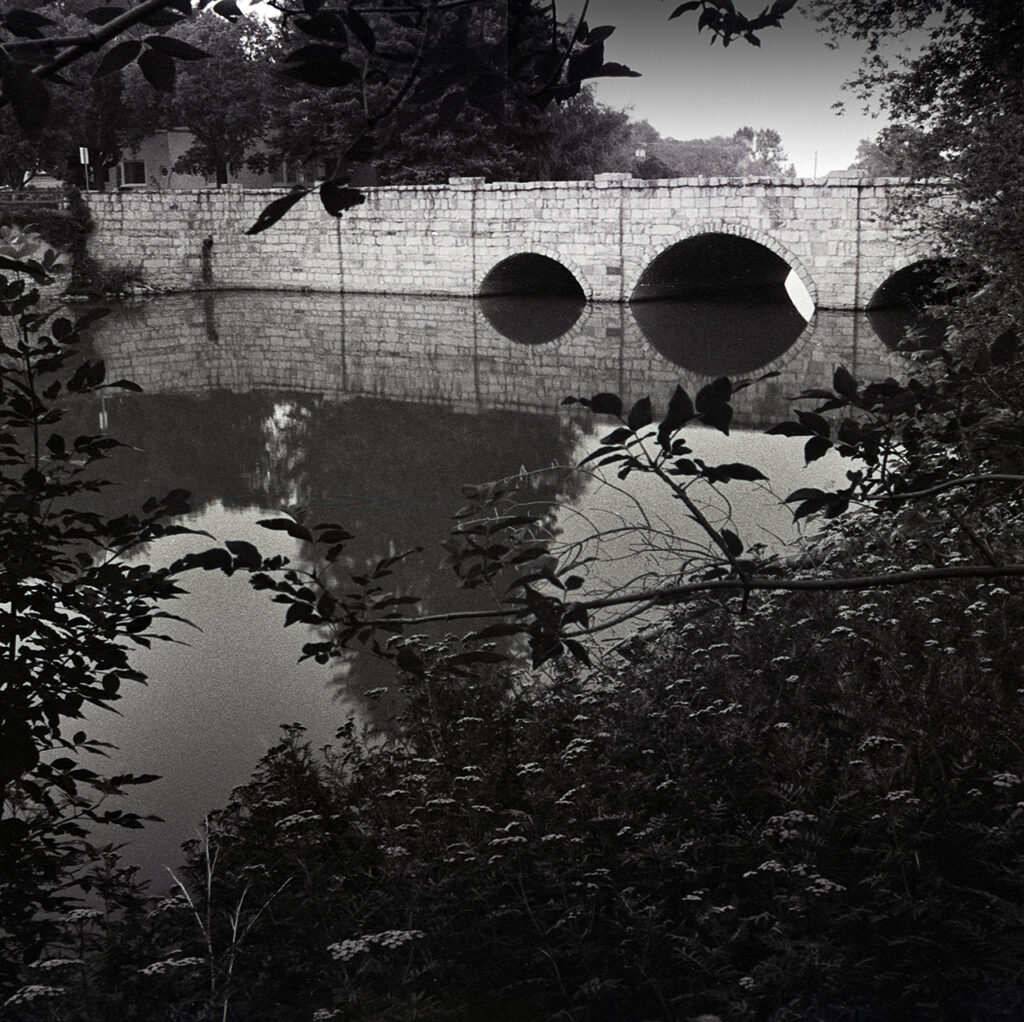
Simple black and white composition of bridge at Sacagawea Park. 35mm, Tri-X, xtol 1;1

With a few days left in our trip we moved to different accommodations. We booked an Air BNB “down the hill” in Livingston, MT. I had been there many times but I hadn’t spent more than a couple of hours there at a time. Mostly to go get some lunch or dinner at one of the great places in town. My wife had plans that took her away from town for those few days leaving me without transportation, so I was relegated to hoofing it around town on my own.

At the edge of town, along the banks of the Yellowstone River, is Sacagawea Park. I had not spent much time there before, but it was pretty close to where we were staying so I decided to explore it a little. While shooting black and white photographs I look for simple compositions, I wasn’t really looking for an epic view of the mountains. (The forest fires were raging then and the sky was filled with smoke anyway.) I was able to isolate a few of the charming features of the park while I explored. One of them being the bridge that accesses the park.

The final photo turned out pretty much like I wanted. It has the calm feeling I wanted to portray with the still water reflecting the arches of the bridge and the discovery of peaking through the woodland to find the old bridge just beyond the water. Keeping the composition and gear simple when I made the photograph, it helps me remember the sounds and smells of that day when I made it. A very good memory.

Wilderness at your front door

Like most people I have a day job. Photography is my passion and I am lucky enough to be able to make the kind of photographs I want to make on my terms. However, the day job does sometimes cut into my available time to shoot as often as I would like. So I have to be creative with my time.

Recently I relocated from Montana to Minnesota. Some of you may be saying “What?…” I know. Minnesota is not known for it’s grand vistas, towering mountains and crazy cool wildlife. But it isn’t that bad actually. I haven’t been able to explore much yet, due to Covid-19, starting a new job and renovating a really old house.

I wasn’t going to give up though. I work from home, like a lot of folks nowadays, and my new home office is in the basement. It has a garden level view window right in front of my desk. Little did I realize what a perfect wildlife blind this window would be!

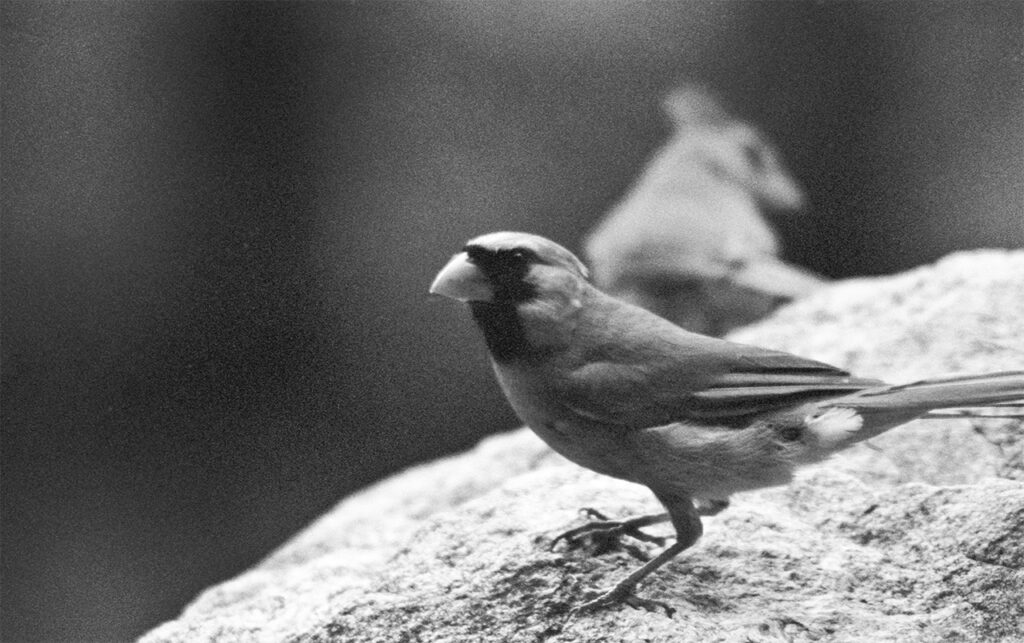
A cardinal couple stops by my window often looking for food.

Many times I have early phone/zoom meetings with my colleagues in Asia so I am often at my desk before the sun rises. My home is in a heavily wooded area right next to a huge lake (duh, Minnesota) and I started noticing that many mornings when I was on the phone all sorts of animals were roaming around my garden. They had no idea I was sitting there watching them!

I thought to myself, “here is my opportunity to photograph some wildlife!” I started having a camera with me on my desk every morning when I started work. While I am on calls, muted of course, I can shoot away at all the critters that come by my window. It’s really fun and a challenge.

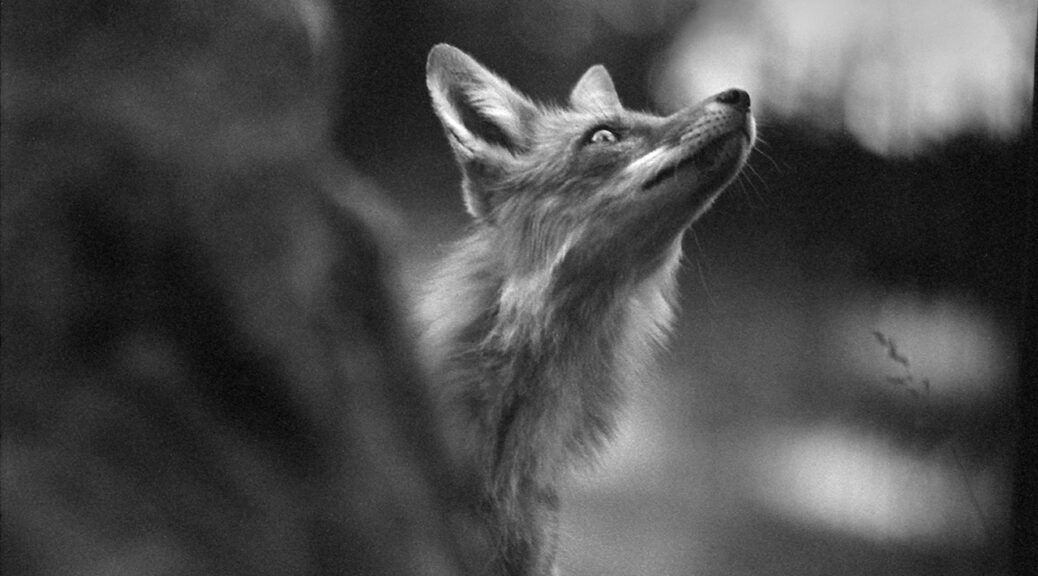
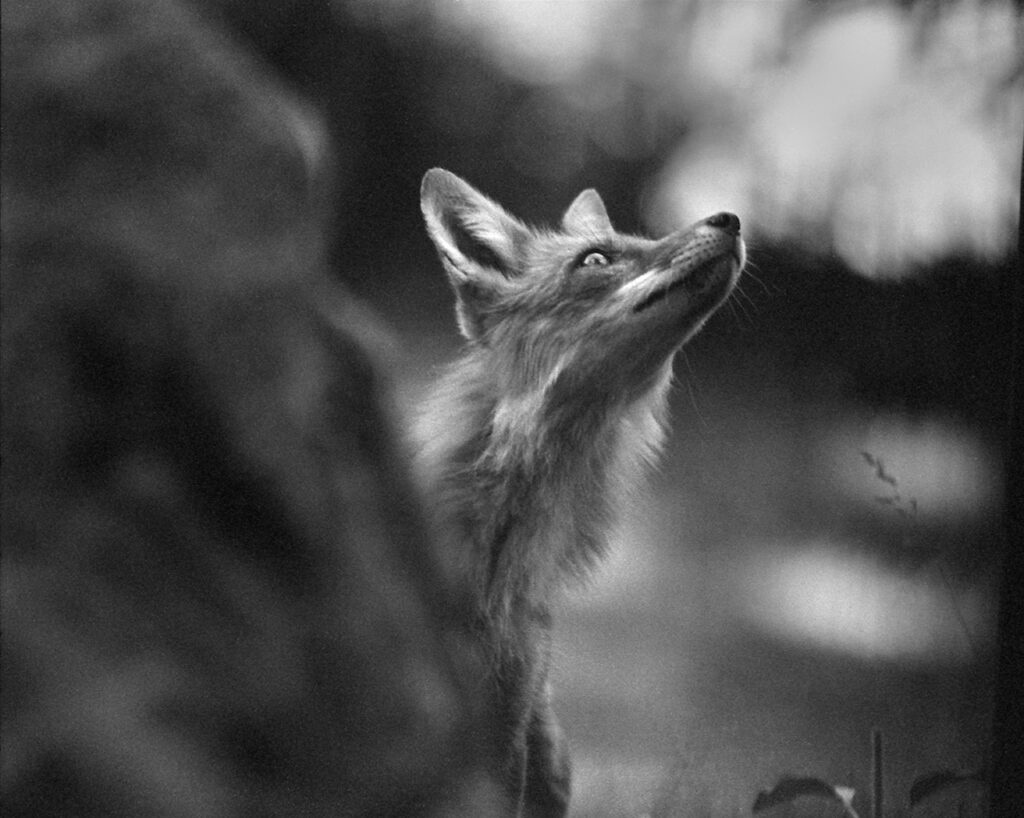
One of the visiting foxes that stop by my window on their hunting rounds in the morning.

I have the usual squirrels and chipmunks that come by. They have even started to look into the window at me like I am some sort of zoo exhibit for them! Then there are the herds of deer and beautiful birds that stop by. The highlight of my “working” wildlife blind has been the red foxes. They have been really fun to photograph.

Now many of these are not going to be national geographic images. Most are snapshots at best. But I have had a few keepers that I enjoy and have added to my collections. The point is I had to find a way to keep my creativity and my eye exercised to keep making photographs.

Street Photography on a Budget

Now I am the first to admit that I am not a very good street photographer. I do enjoy it and I am getting better each time I go out in search of that “decisive moment”. I have read a lot of other “how to” and “best gear” blogs and articles about shooting street photos and there are some really great tips and tricks out there. One thing I have learned over my course of photography experiences is that there is not a hard rule on much of anything in photography. (Except exposure. A bad exposure means a bad photograph no matter what else is going right in the photo.) So I take every “do this” or “use this” tip with a grain of salt.

Many of the things you may find online about street shooting is focused around the gear. It seems that the holy grail of a street shooters bag is a Leica of some sort. I don’t know about you, but I can’t really justifying the cost of a Leica to do some occasional street shooting. Of course many street photographers use their phones, which is a good option, and others use mirrorless systems. It seems that what ever you end up using you must like and be proficient at using it. My point here is that you don’t have to spend a lot of money to be able to make great photographs. The best camera is the one between your ears.

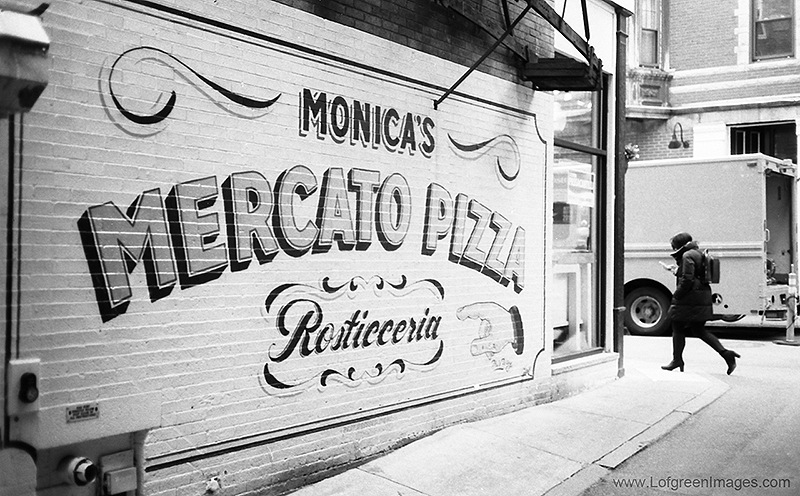
Monica's Pizza, one of the best pizza places in the North End of Boston
Monica’s Pizza, one of the best pizza places in the North End of Boston. Shot with Canon AF35ML and Kodak Tri-X 400

I am partial to traditional film photography methods, especially Kodak Tri-X 400 for street photography. So, when I was planning a trip to Boston last year I wanted to find a film based camera that I could use to make some walk around town photographs. I wanted something small, easy to use and cheap. I have a few 35mm cameras I could have used like a Pentax ME Super, or a couple of Nikons and even an Yashica Electro rangefinder. All of those, except the ME Super, are too big and imposing on the streets when you want to photograph strangers on the street. I needed something smaller and less intimidating.

Unfortunately my Olympus XA just bit the dust and quit working on me. I loved that camera. So with that, I decided I was on the hunt for a high quality point and shoot film camera. With this in mind I kept my eyes open anytime I went into a thrift store or an antique shop. In the 80’s and 90’s there were some stellar point and shoot cameras made. Many of them are still highly sought after even today. Cameras like the the Olympus XA, Contax T3, Yashica T5 and others are stellar examples of great point and shoot systems. The fun part about looking for one is that many people think they are out dated and are “no good” any more because of the new digital systems out there, and they just give them away. I found my Olympus XA for $2 at a thrift store because someone gave it away!

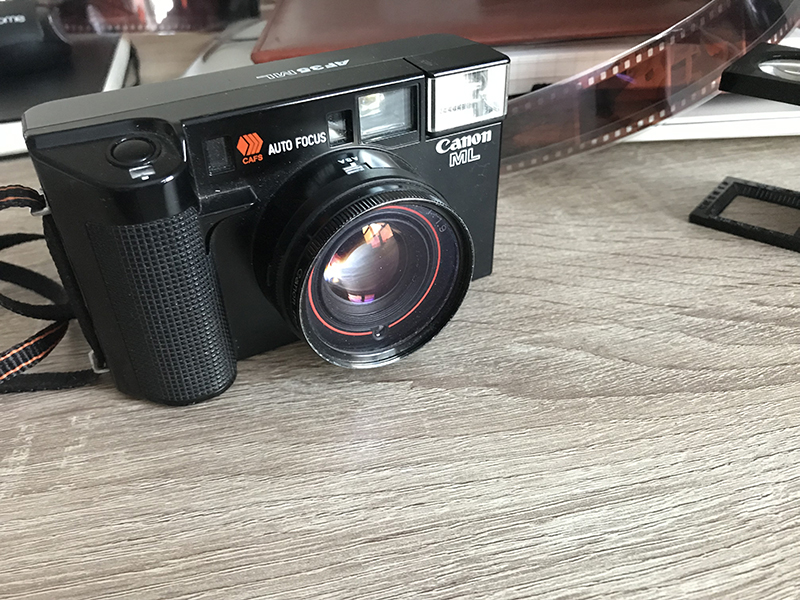
Canon AF35ML point and shoot camera for street photography

My efforts didn’t turn up a Contax but I did get my hands on a pretty capable camera at a thrift store. I picked up a Canon AF35ML in almost perfect condition for $10 bucks. It fit my requirements perfectly (almost, I will talk about that in a minute). It was cheap, small and was a “full frame” 35mm camera. I could slip it in my pocket and use it whenever I needed. Even better, my family that was traveling with me, didn’t have to put up with the “wait while I get the camera out” moments. I could just pull it out, point, shoot and be on my way.

Now, for some film. I wanted to use a bullet proof black and white film that could handle any funny exposure issues I might run into with this little point and shoot rig. One of my go to films is Kodak Tri-x 400. I knew I didn’t have much control over what the camera was doing so I needed a film that had a lot of exposure latitude. Another film I could have used was Illford HP5. It is very similar to Tri-x.

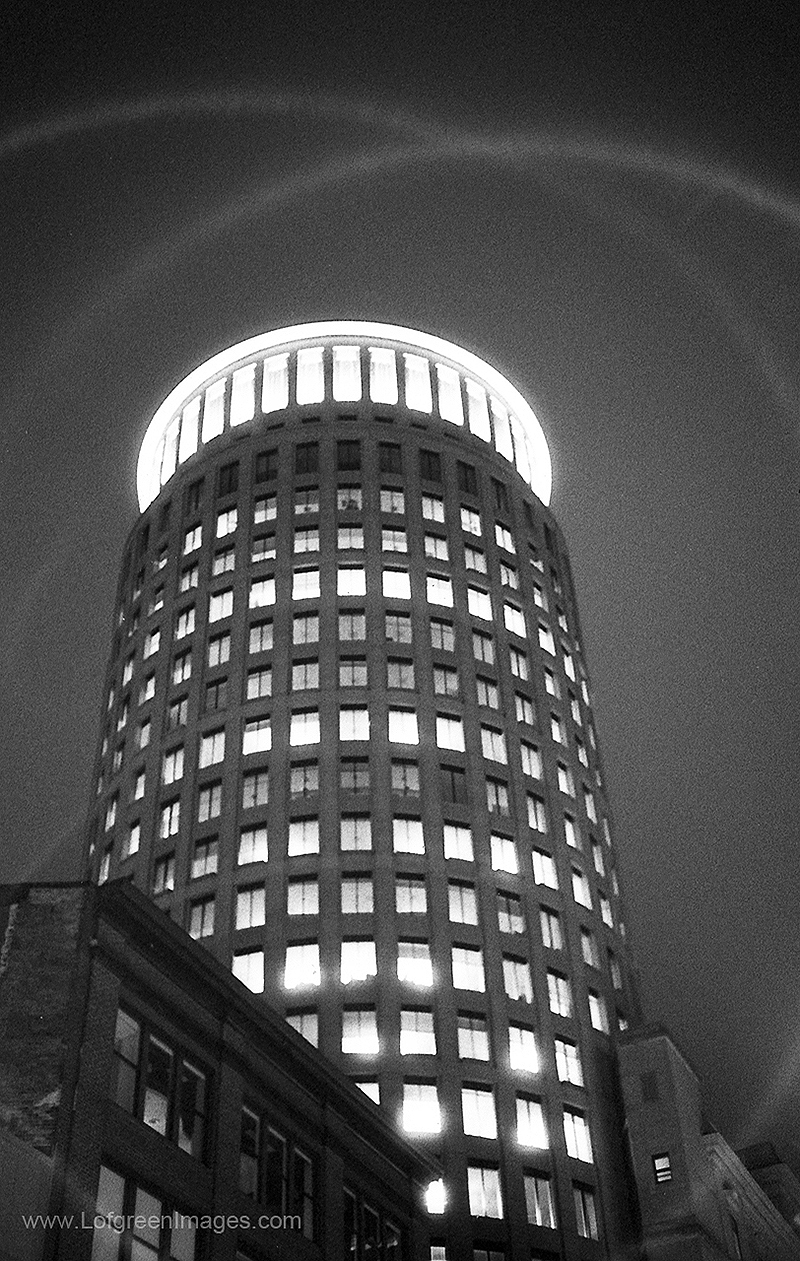
One International place boston
One International place Boston. Night shooting was no problem for the point and shoot with Kodak Tri-X loaded.

Once I had some film loaded I gave the little camera a spin… The auto focus was fast and smooth and the shutter has a nice quiet “click” when you hit the button. However, the film advance sounded like some sort of electric grinder, “grrr…ick”. So, there was no way I was getting away clean from some street shot of someone walking by me on the street. Bummer. The noise aside, the images this camera produced were fantastic. With a little practice I quickly understood where this camera excelled and where it falls flat on it’s face.

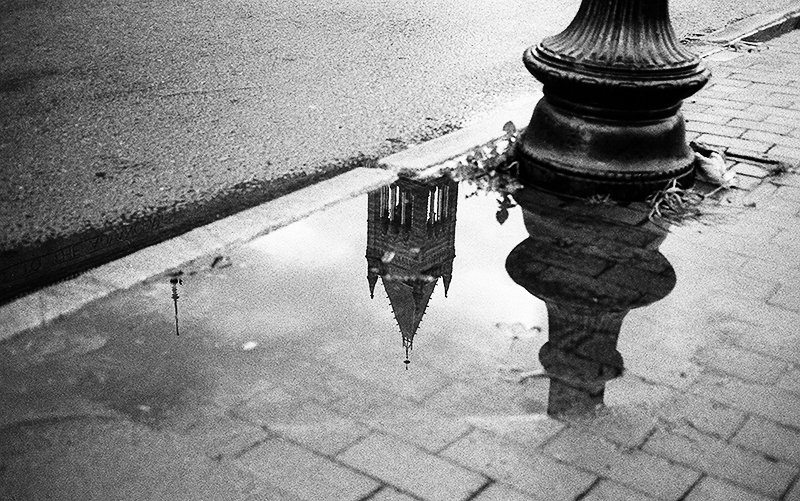
Puddle reflection
Puddle reflection

I still use this camera for street snaps and general travel/walk around shooting. My whole point here is that you don’t need to spend a ton of money to make some great photographs. I spent a total of $10 for the camera and about .20 cents a frame to shoot some fun street images. No Leica needed.

Repost – Kodak UltraMax Test

This is a re-post of an article I had on my old blog site. It was a popular one even though it wasn’t about black and white film photography. Whenever I can I like to encourage new photographers to try film and this article is a good example of how to get really good images from some really cheap film. Because this was an older post some of the links to external sites may not work.

I have a few more posts planed around how to shoot, process, print, scan and the whole film workflow in coming posts, so check back soon. Enjoy the re-post.

———————————–

Disclaimer: This is not a scientific test, my results may be different than yours and results may vary. 

I have ordered some of the new Kodak Portra 400 film and can’t wait to give it a spin. I have seen some posts on a few other blogs that have shown how wide the exposure latitude of the new film is. You can see some good examples over at Twin Lens Life. They are some great film shooters in the Riverside area. I have also seen a test of Fuji X-tra 400 consumer film that showed how much exposure latitude it has over at Figital Revolution. All films are different and behave differently, that’s the beauty of film. Knowing what you want to get right out of the camera and knowing what film will get you there instead of working for hours in photoshop to get there is a great way to work.

For my example I chose to shoot with some Kodak Ultramax 400. It’s easy to get your hands on and I figure that if someone wanted to start shooting film for the first time, or go back to it for kicks, they would be likely to pick some of this up and start shooting. It breaks down to about $2.50 a roll, not expensive and easy on the wallet.


Inexpensive color negative film
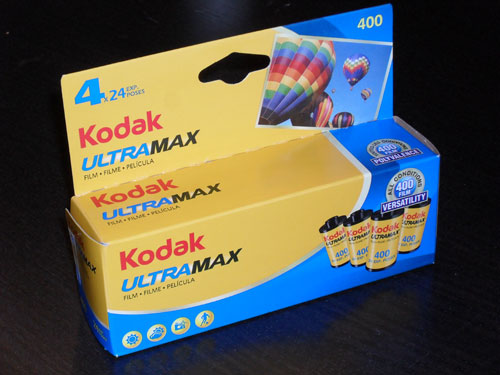
Kodak UltraMax 400 4 pack @ 24 Exposures for each roll. Single rolls retail for $2.99 each online today.

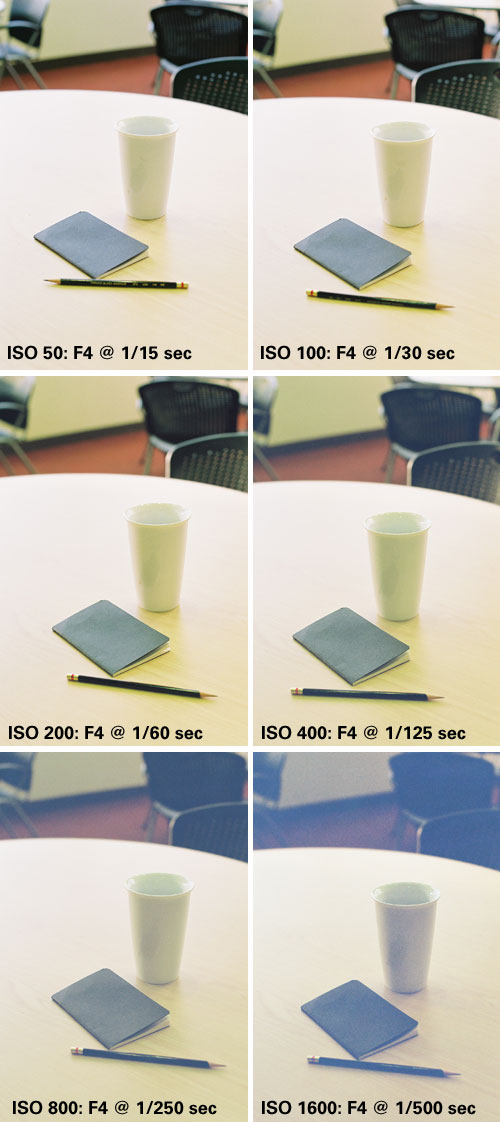
What I did on my first roll is to expose the first frame at 50 iso and then move each frame after that up one stop, all the way to 6400 iso. I did this so I could find the “sweet spot” to set my iso on my camera. You might be saying “But the box says 400 iso, don’t you set it at 400?”. The short answer is maybe. Just because the box speed says 400 doesn’t mean that you get the best results at 400. In the other examples from Twin Lens Life and Figital Revolution you can see that the films performed really well at just about all speeds. That’s right, you can shoot those films like you can with digital and move the iso around! The Kodak Ultramax however, doesn’t perform so great at 400 or higher (again these are my results, yours may be different). You can see my examples below.

Test exposers of Kodak UltraMax 400 35mm film
Examples of Kodak UltraMax shot at different exposures to determine the best ISO and settings to use with the film.

As you might be able to see, 400 iso is about the max this film can shoot at. It seems that the film starts to flatten out in contrast and the grain starts to get bigger at 400 iso. If a person didn’t know this and was excited to “try film” and shot this at box speed they might be a bit disappointed and think that all film looks like this. Now that I know how this film behaves with my shooting style and camera system I will be shooting this film at 100 iso not 400. The grain structure, color saturation and the blacks seem to be real nice at 100 iso and it still gives me about 2 stops + or – for error and I will still get a nice exposure. If you want to get into shooting film and you chose this film just for “testing it out” you would probably be better off setting your iso at 100 or 200 to start out. I think you will like your photographs more and it wouldn’t discourage you from shooting some more.