Category Archives: Photographic Prints

The Only Way to get a Clear Answer is to Try it Yourself

Can I make a silver gelatin print from a digital negative without spending money on a pigment based inkjet printer?
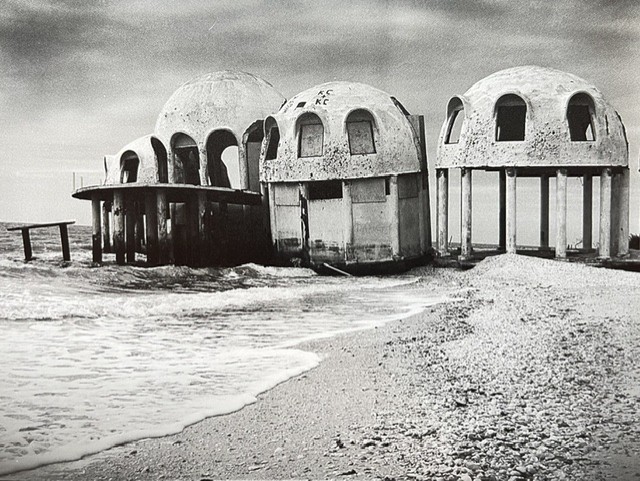
Cape Romano FL. Dome House 2012
Cape Romano, FL. Dome House, 2012

What if I have a nice photograph that I shot with my digital camera, or my film negative is damaged so that I can’t make a darkroom print without fixing it digitally? Could I make a negative that I can print in my darkroom without investing even more money?

Sometimes the internet doesn’t have the answers

I started out like many inquisitive minds do. I googled it… There are hundreds of videos and how to posts about digital negatives for alt processes. Platinum, mostly but some others. Dozens of opinions on what the “best” way to make a digital negative. They all stated you had to have a pigment based printer in order to block the UV light for those processes.

Except for one video that said you could use “any” inkjet printer. However, in the video the printer that was used was an epson pigment printer. So nothing concrete on the dye printer question. The bottom line is no one was talking about silver gelatin with dye based inkjet negative.

So I dug deeper. I went down the rabbit hole of quadtone RIP, tone curves, easy digital negative, etc. Still, all of the information was for alt process.

While I was reading and searching, I had a conversation with some other photographers and one of them, a very talented photographer working with the calotype process, was explaining her work flow. She is represented by a couple of top galleries and has shown work all over. The whole group was very keen on hearing how she made her digital negatives. “do you use QTR, EDN or how did you figure out your tone curve?” She just looked at all of us like we had three eyes. Then she said, “I don’t know anything about that stuff (spoken like a true artist). I just invert the file and put it on a thumb drive and my husband goes to Office Depot and they print the negative for me.” What?… Could it be that easy?

At that point I decided I just had to figure this out for myself.

One Step at a Time

I wanted to use the tools I already had and keep any expenses of new tools as low as possible. This was after all, an experiment. What I already had:

  • Darkroom with Durst enlarger
  • Assortment of darkroom paper
  • Contact printing frame
  • Canon Pro-100 dye based photo printer
  • Flatbed scanner (epson)
  • Photo editing/processing software
  • Cameras, film and digital

I am already pretty invested in the wet printing process and had significant tools for a digital workflow too. I didn’t need to invest in much more to give it a try. What I needed was some transparency film to print on. There are a lot of recommendations online, Pictorico and Fixxons seems to be the top choice according to the internet. I didn’t want to invest too much for my test so, I went to Office Depot and bought what they had for overhead transparency film for inkjet printers. Just ordinary stuff.

From what I had read, it seemed that the a particular color in your printers ink set could be better at blocking UV light than black. A shade of red or green or yellow might block light better than black. It made sense… If it worked for UV it probably would be the same for visible light from an enlarger after all.
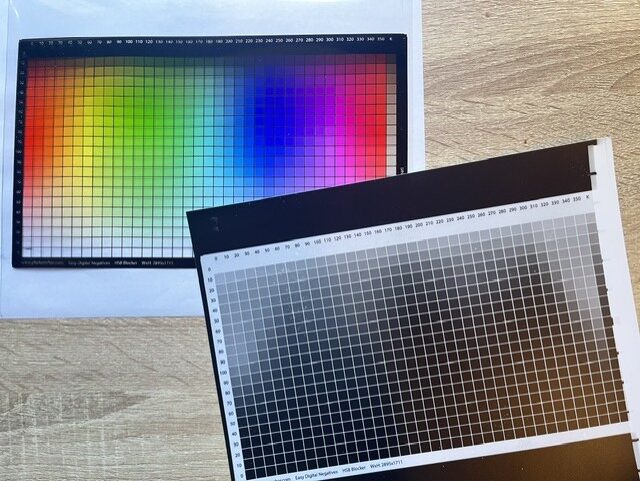
None of the colors on the EDN target file blocked white light from the enlarger, except black
None of the colors blocked white light from the enlarger, except black.

I was wrong on that one. I printed the easy digital negative (EDN) target file, put it in my contact print frame with some Arista resin coated paper and exposed for what I knew was a good exposure for film contact sheets on that paper. None of the color squares came close to blocking the light. But… the black boarder sure came close!

Now that I knew black was the blocking color for my Canon Pro-100 I decided to make a step wedge so I could get an idea of what the tonal range of the black inks would produce on the silver paper. I made steps of 5% increase from black to white.
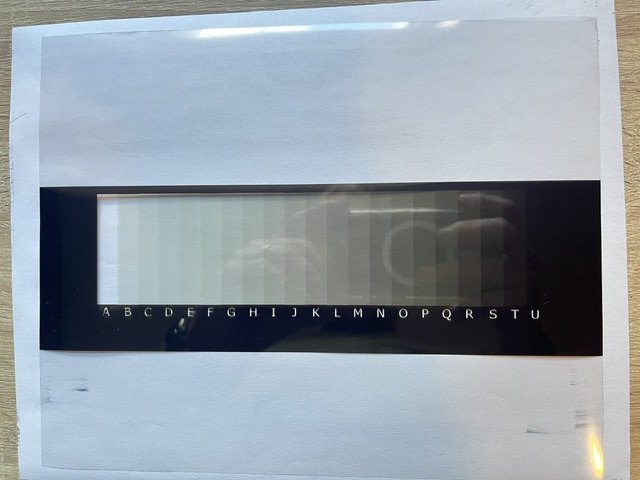
Step wedge with 5% increments of black

I noticed on my initial test prints of the step wedge the white wasn’t fully clear paper white. It was close. That meant the black ink wasn’t fully blocking light. I adjusted my exposure time on my timer until I got a good black and a clear white. Then I took a look at the tones in between. I was shocked. Without a curve applied to the image in photo editing software, to my eye, each tone step was very accurate. I thought, “maybe it is that easy”.

Forging on, it was time to make a test negative. I picked an image that I have made digital prints of but couldn’t make darkroom ones because of damage on the original film negative. I included my step wedge in the negative below the image to make sure I was seeing the tonal range separately. Putting the the printed negative and the paper in the contact printer I exposed for what I figured out was my base exposure time from my step wedge tests earlier.
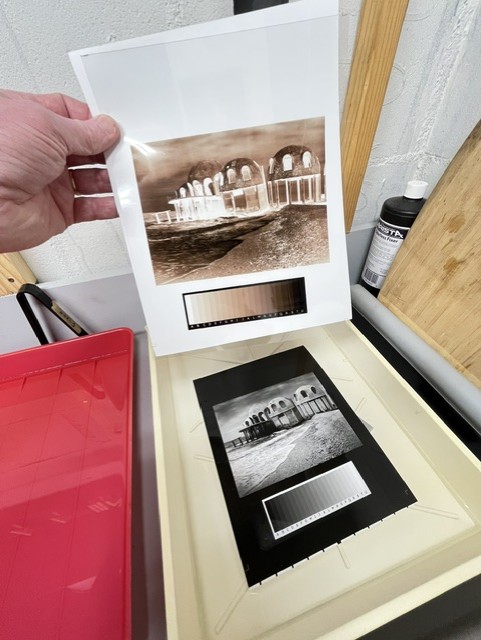
First print results from the dye based inkjet negative on silver gelatin paper
First print results from the dye based inkjet negative on silver gelatin paper.

In the dark, under red lights I put the print in the developer tray and watched… Bam! There it was. Perfect. Just like I was hoping. Now I knew that I could print any image from a digital file in the darkroom on silver gelatin paper from a dye based printer. Because I answered my own question!

I know that every paper will behave differently and I will have to run step wedge tests on any other papers. I might need to make a curve in my image editing software to adjust the tonal scale for other papers, but I know I can get a really nice print from a dye based inkjet negative.
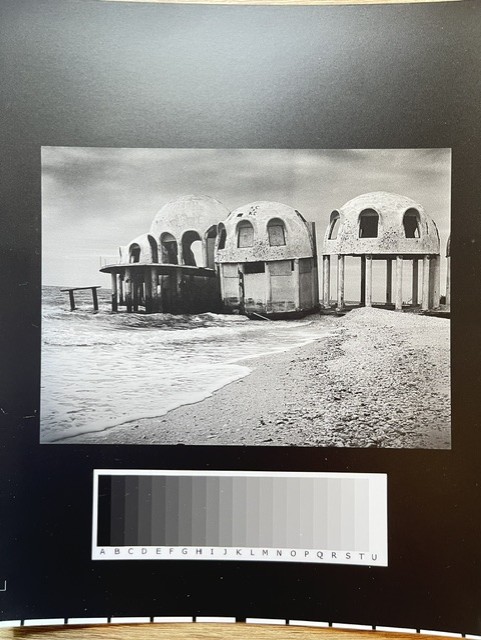
Final dried silver gelatin print

I am looking forward to the options I now have to printing high quality silver prints from any source. This opens up a lot of possibilities.

If you have a question about some photographic process, chances are you will find about 80% of what you need online. You may also find that there are people who have totally different views on the subject and you can’t make a determination based on the “yeah it works” or the “it never works” or “to do it right…” The only way to really understand how these things work you will have to try it yourself. Invest in your own experience and knowledge.


If you like the content I post here on the blog then maybe you will be interested in my email newsletter. I send them out with other news, thoughts and tips on photography as well special print offers. Add your email in the form below. You can unsubscribe anytime, you won’t hurt my feelings.
Exploration in printing photographs

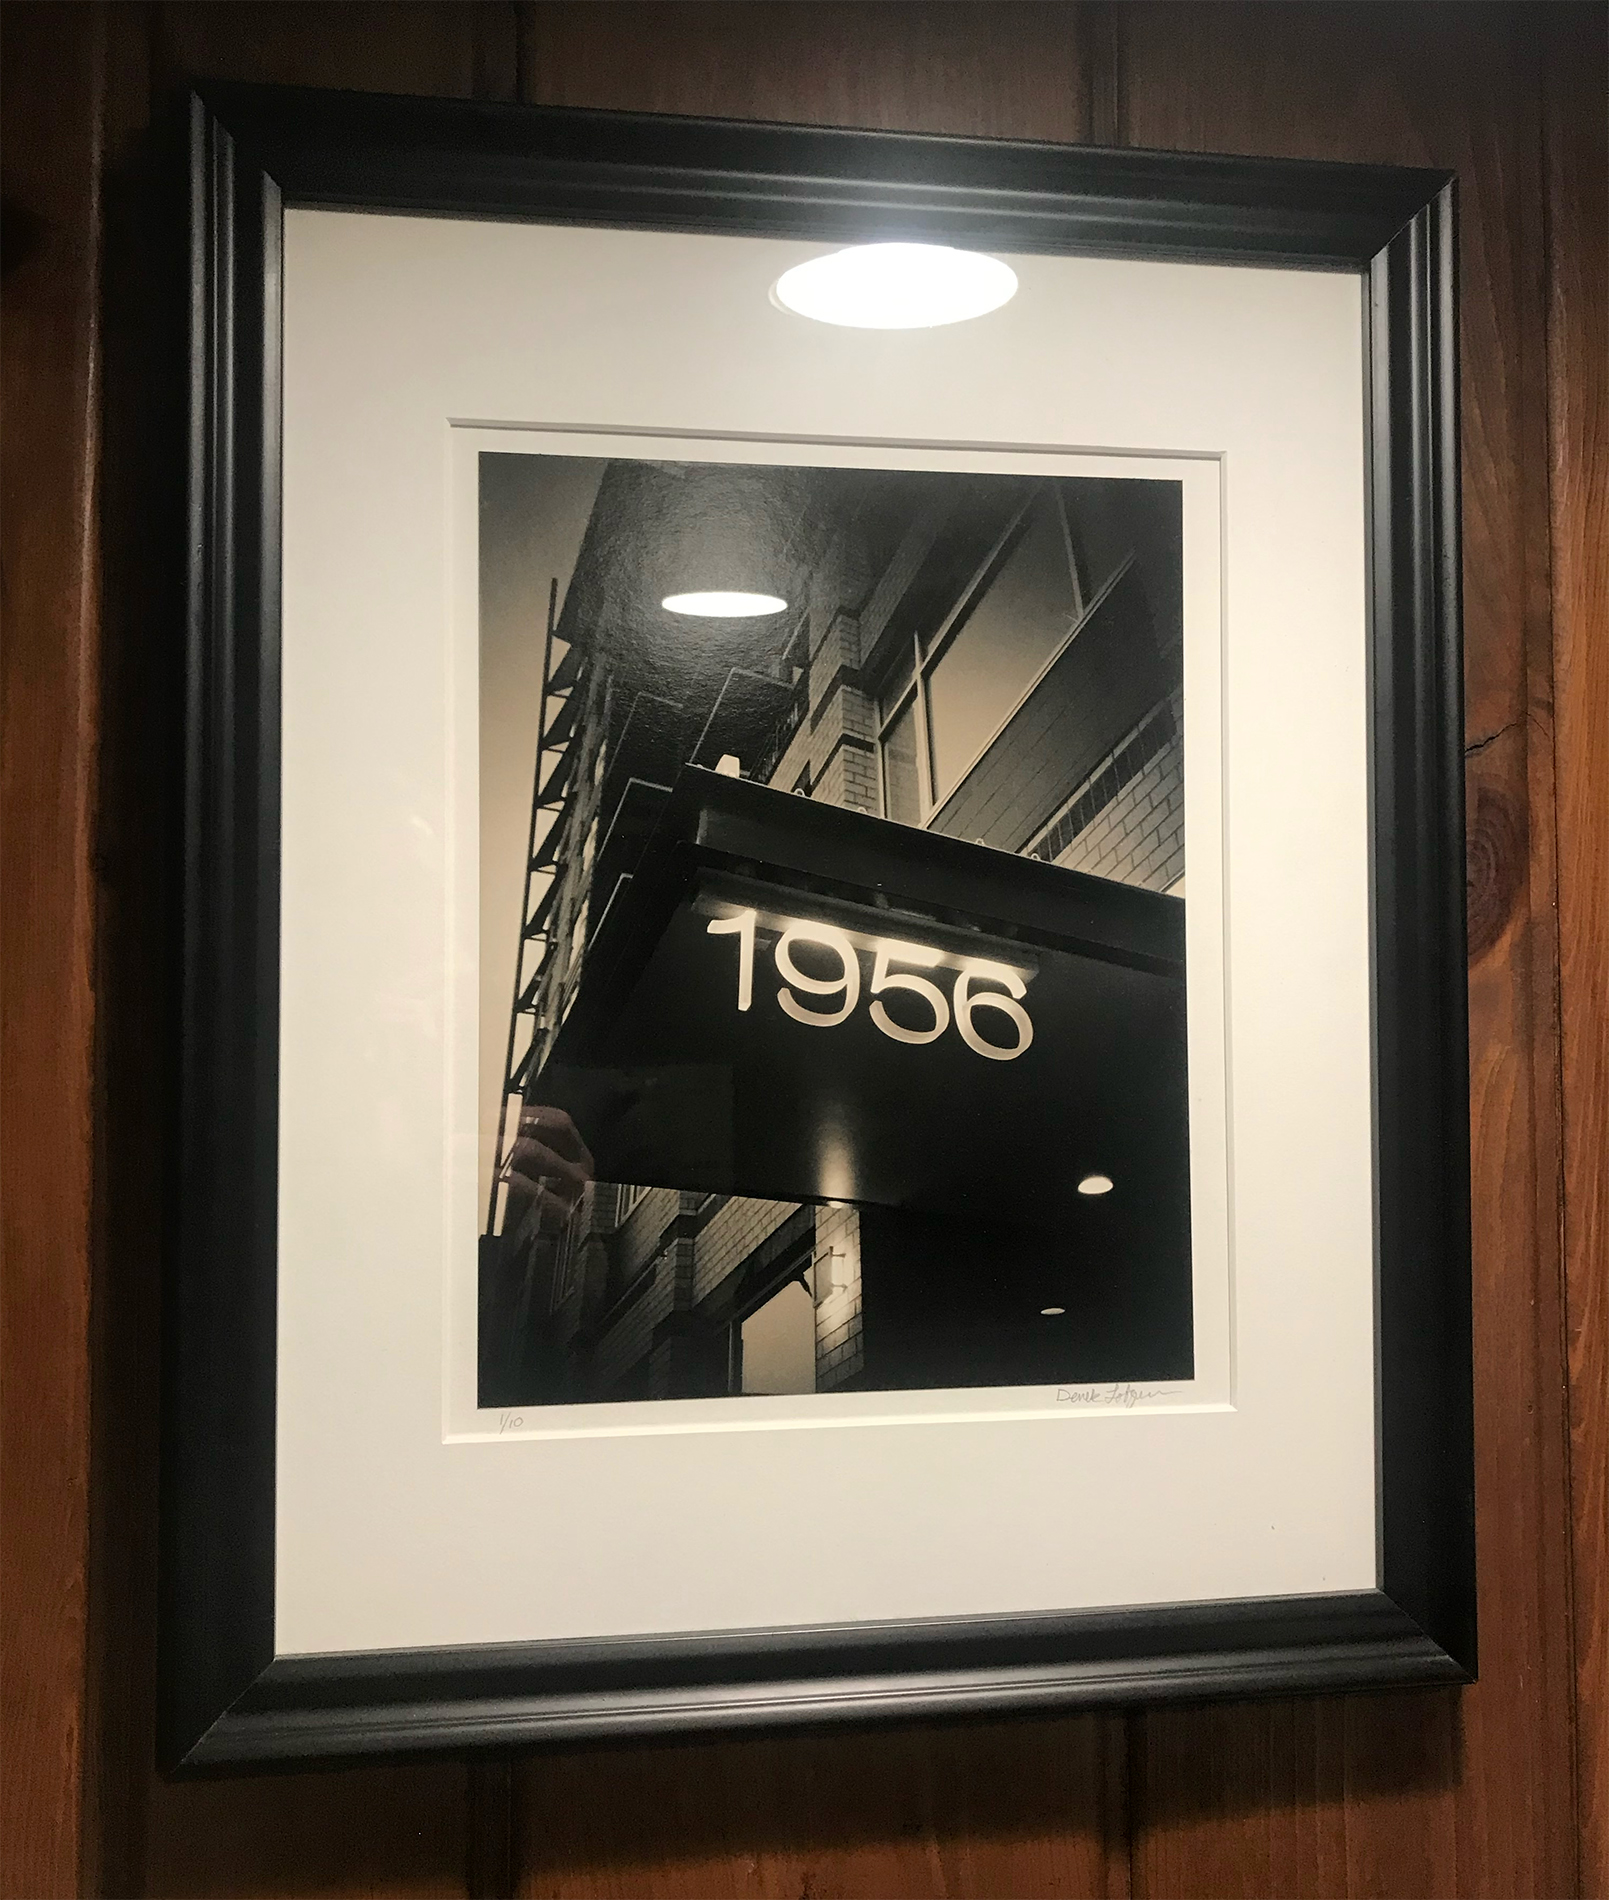
I have normally used darkroom or a photo lab for my final prints. I love doing prints, especially if I frame them and hang them on the wall. Something about putting the print behind glass with a clean mat and frame around a print completes the whole process. Like adding the perfect watch and shoes to a suit. There isn’t anything more satisfying in photography when you can hang that print on a wall and look at it.

There is also the printed page. Many photographers goal is to publish a book or zine. With modern technology available it is very easy and affordable to self publish a body of work. The approach to printing work is vast nowadays. Yet, many still don’t print the photographs they make. Folks seem to want to stop at the phone screen and share it online to other screens. I have never gotten the satisfaction from stopping at a screen presentation as I have by taking my photographs all the way to paper.

Final framed 11×14 silver gelatin print

When print on demand came to the scene I started creating family albums of trips we would take with my extended family. I could print a dozen of these bound books with linen covers and pass them out to the family a few weeks after we all came home. They were well received and still sit on everyone’s bookshelves. The quality wasn’t offset press quality but that isn’t what mattered. The books can sit on a shelf and be picked up at anytime, flipped through and all the memories of the trip come flooding back. No screen required.

In a post I made earlier I shared that I am building out a darkroom space. It is slow going due to family and work obligations. Life always seems to get in the way of some things. Anyway, while I am still working on that I wanted to print some of my photographs and thought I would look at photo printer options. The last time I tried to get a print out of an inkjet printer that I was happy with was a long, long time ago, and it still wasn’t that great. Back then, at their best they couldn’t hold a candle to a wet darkroom print. Even with all the extra messing around with ink sets and RIPs etc. It wasn’t worth the money or the effort in my view.

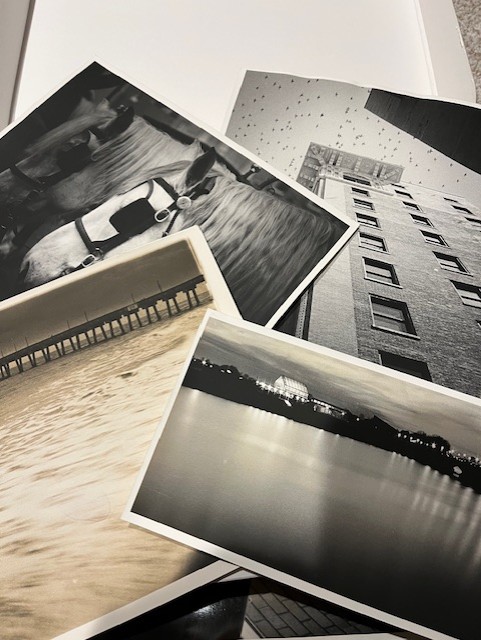
Box of silver gelatin work prints for evaluation

Of course things have changed, inkjet printing has come a long way since then. I could have spent a lot of money for a printer but I didn’t want to drop over a thousand dollars on something I might or might not like and use. My real goal was simply to make nice prints of my work for myself that I could evaluate to see if it was worth sending to a lab or wet print myself when I have the darkroom complete. So I hit the used online market places looking for something that would print up to 13×19, print good quality black and white and be under $200 USD.

After a couple of weeks of looking I picked a Canon Pro printer up, in my local area, with full set of inks for $100 bucks. It was a gamble. Many times the printers sit with inks in them for years and are all dried up and crusty, clogged to the point of no return. I thought for $100 I would take the risk. I brought it home, set it up and hit the test print page and… it worked perfectly! I ran a cleaning cycle and print head alignment on it and have been using it ever since.

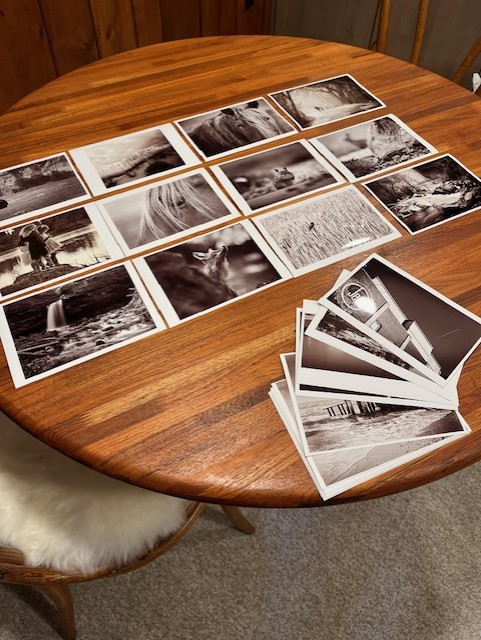
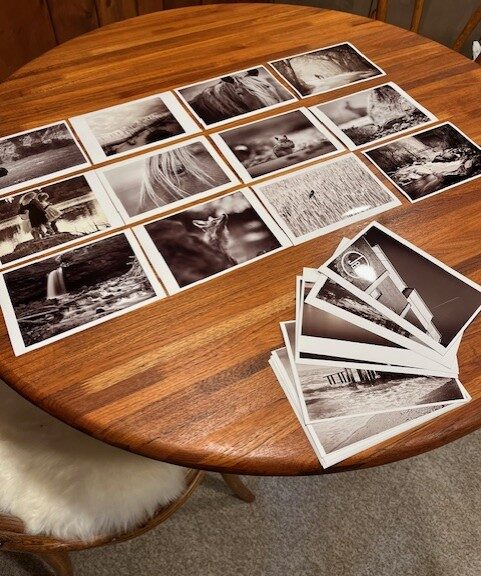
Sequencing and gathering of small inkjet prints for evaluation

For now, I use the printer to make small prints (5×7) of images I have only seen on screen so I can pin them up and live with them a while. Being small prints, it is easy to rearrange and practice sequencing for any books I may want to print. Another surprise was that when I see a bunch of these prints lying in front of me I can start to see some connections between them I wouldn’t have otherwise. This creates an opportunity for new bodies of work that I may not have seen before. It has been fun and a new exercise to add to my photography practice.

If you are a photographer, or know a photographer, that doesn’t print their work (a lot of it, not just the good ones) as part of their creative exploration, I would encourage you/them to do it regularly. It’s easy for me to tell you to do it and give the reasons I think it’s important, but the photographer that prints learns more about their work and where to go next when they work with prints rather than screens.


If you like the content I post here on the blog then maybe you will be interested in my email newsletter. I send them out with other news, thoughts and tips on photography as well special print offers. Add your email in the form below. You can unsubscribe anytime, you won’t hurt my feelings.
Objects of Desire

The practice of photography means different things to different people. There are the casual photo snappers all the way to serious practitioners of the art and craft. With different experiences and motivations to make photographs, the end results can vary wildly. For me, the end result is not simply a great image I can share on social media or look at on a screen. I want an artifact that I can hold in my hands. A printed photograph.

The combination of the paper, chosen by the artist to best enhance the presentation of the image printed on it, and perhaps the mat and framing all come together as the final artifact. One that will last on it’s own without support from some other technology. No batteries or screens required. It exists. It is.

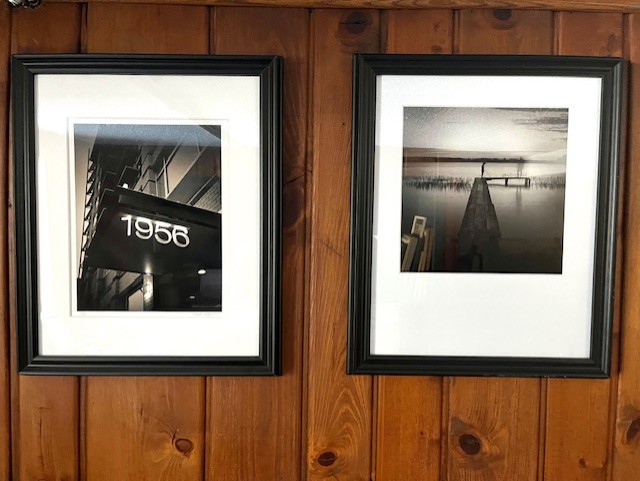
Framed black and white prints on view to see as objects in themselves.

I can see amazing images online and be impressed, moved emotionally and have great respect for the effort made to create the image. I can say that I have never told myself “I have to have that image on my hard drive”. Not once. However, when I go to a gallery, art show or museum and see art on display, I find myself wanting the “thing” on the wall. It becomes an object that I desire. I want it because it is a real thing.

I want to touch on another thing an artifact brings. Perceived value. Maybe I am old fashioned in my thinking, but I can’t seem to feel that a digital file has as much value as a physical object. There is extra effort to bring an idea into a physical representation of that original idea. For example if a sculptor created a 3D model of a piece and then actually made some bronze castings of the piece the bronze artwork will have more value than just the digital file. The same principle applies for a digital image or even a film negative for that matter.

Photographs that you can touch and feel have a greater perceived value than a digital image on a screen.

We are being bombarded with digital imagery with social media, online news outlets and even snaps on a phone shared directly. It is almost overwhelming. With the volume of digital images it gives us the impression that it is commonplace and the value of a good photograph is diminished. When a photograph is printed, it demonstrates that the artist took the effort, from time of capture, through processing and printing to the final result. The artifact. This increases the perceived value of the photograph.

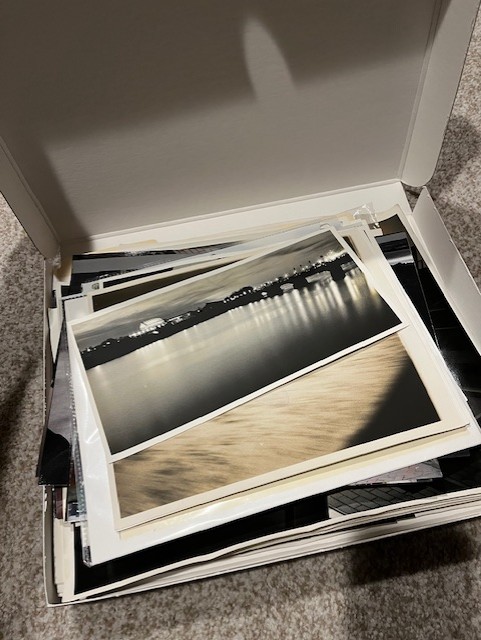
Printing a photograph takes some effort. Even before the digital photography era photographers didn’t print every image they captured. Contact sheets helped the photographer choose the keepers and ones to pursue to a final print. I enjoy having final prints that I can sit down with and look at in my hands. Sitting with a box of final prints or a book of a photographers work and slowly looking and internalizing the photograph is almost a therapeutic process. I can turn off all my distractions, computer, TV, Phone etc. and enjoy without any interruptions.

Box of prints that can be viewed with a nice cup of (insert your favorite beverage) without interruptions.

I guess what it comes down to and what I am trying to say, is that a printed photograph is important in any photographers practice. If you are a photographer who doesn’t print often or at all, I would encourage you to print your work. There is a next level of understanding and learning you will gain when you do.


If you like the content I post here on the blog then maybe you will be interested in my email newsletter. I send them out with other news, thoughts and tips on photography as well special print offers. Add your email in the form below. You can unsubscribe anytime, you won’t hurt my feelings.