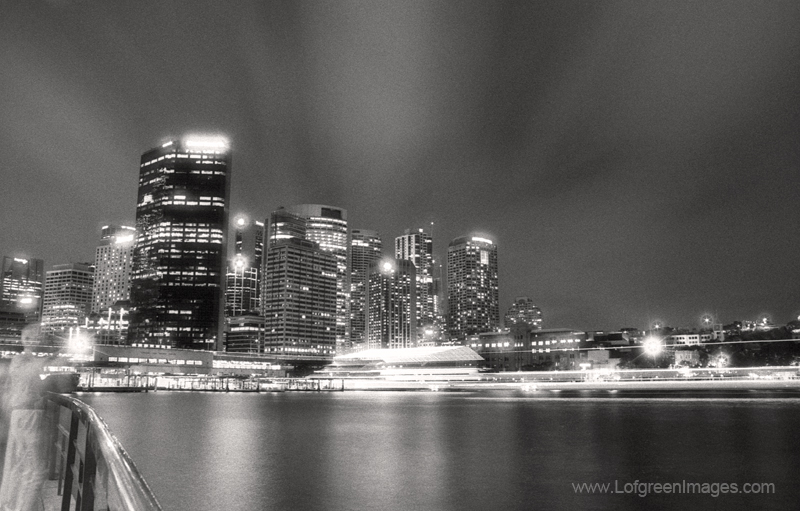
Last January, while is was planning my trip to Australia, I was really looking forward to some great opportunities to photograph the opera house in Sydney. In one of my previous posts about being prepared to photograph while traveling I talked about how I tried to plan and be prepared to photograph the opera house during a fireworks display. Needless to say it didn’t work out as well as I had hoped. I was in luck though, I had a few other ideas in mind for photographing the opera house and a few days to get it done.
The opera house is one of those famous landmarks that is photographed all the time. Thousands of people take photos of it. Because the vantage points available to shoot the opera house are limited, many of the photos look the same. I wanted to capture my vision of the opera house, not just the same photo everyone else had. Don’t get me wrong, there are a lot of fantastic photos of it, but I wanted to look hard for something different. Something that was mine.

With several days to make my photos, I was able to watch how the light moved throughout the day. I could follow the weather to see how it would change the scene. I got a pretty good sense of the rhythm of the harbor while I was there. Armed with my observations I knew a distinct image would come down to composition.
I always edit my composition in the view finder. Simplify, simplify, simplify. Making sure there is nothing in the composition that did not need to be, is always my goal. I loath cropping my images. For a wide angle shot I had to wait for many of the boats to move clear of my composition. Using a long exposure made for an exercise in patience. Composing for simple lines that create a restful image, is another thing I always try to achieve. Thanks to a great coastal line and the fantastic architecture it wasn’t hard to see for the opera house.
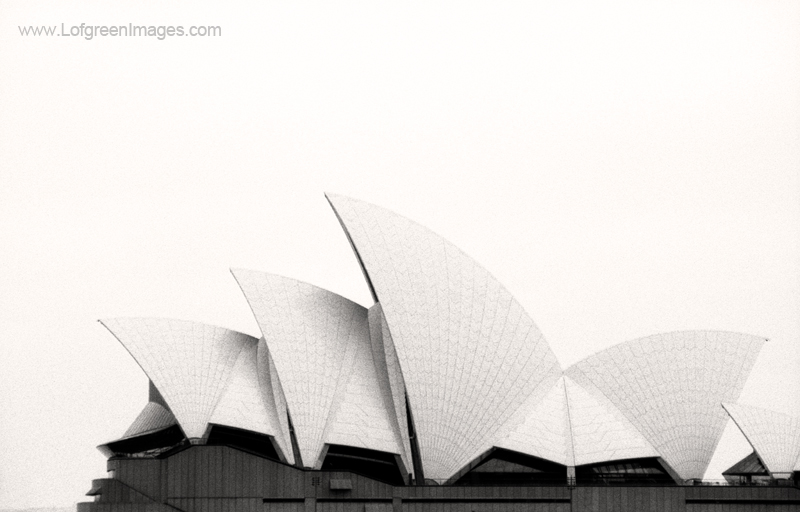
Changing up the composition a bit, I wanted to get the pattern and lines of the architecture of the building itself. Almost an abstract view of the opera house. Maybe this isn’t a very original image but the haze in the air made the sky turn to a creamy white that complemented the white rooftops of the opera house. This high key image removes any distraction and lets the viewer focus on the repetitive nature of the lines in the architecture. Repetition in design.
Overall I am really pleased with the images I was able to create from this trip. There were many that didn’t make the cut but a handful of them are real keepers.