Now I am the first to admit that I am not a very good street photographer. I do enjoy it and I am getting better each time I go out in search of that “decisive moment”. I have read a lot of other “how to” and “best gear” blogs and articles about shooting street photos and there are some really great tips and tricks out there. One thing I have learned over my course of photography experiences is that there is not a hard rule on much of anything in photography. (Except exposure. A bad exposure means a bad photograph no matter what else is going right in the photo.) So I take every “do this” or “use this” tip with a grain of salt.
Many of the things you may find online about street shooting is focused around the gear. It seems that the holy grail of a street shooters bag is a Leica of some sort. I don’t know about you, but I can’t really justifying the cost of a Leica to do some occasional street shooting. Of course many street photographers use their phones, which is a good option, and others use mirrorless systems. It seems that what ever you end up using you must like and be proficient at using it. My point here is that you don’t have to spend a lot of money to be able to make great photographs. The best camera is the one between your ears.
I am partial to traditional film photography methods, especially Kodak Tri-X 400 for street photography. So, when I was planning a trip to Boston last year I wanted to find a film based camera that I could use to make some walk around town photographs. I wanted something small, easy to use and cheap. I have a few 35mm cameras I could have used like a Pentax ME Super, or a couple of Nikons and even an Yashica Electro rangefinder. All of those, except the ME Super, are too big and imposing on the streets when you want to photograph strangers on the street. I needed something smaller and less intimidating.
Unfortunately my Olympus XA just bit the dust and quit working on me. I loved that camera. So with that, I decided I was on the hunt for a high quality point and shoot film camera. With this in mind I kept my eyes open anytime I went into a thrift store or an antique shop. In the 80’s and 90’s there were some stellar point and shoot cameras made. Many of them are still highly sought after even today. Cameras like the the Olympus XA, Contax T3, Yashica T5 and others are stellar examples of great point and shoot systems. The fun part about looking for one is that many people think they are out dated and are “no good” any more because of the new digital systems out there, and they just give them away. I found my Olympus XA for $2 at a thrift store because someone gave it away!
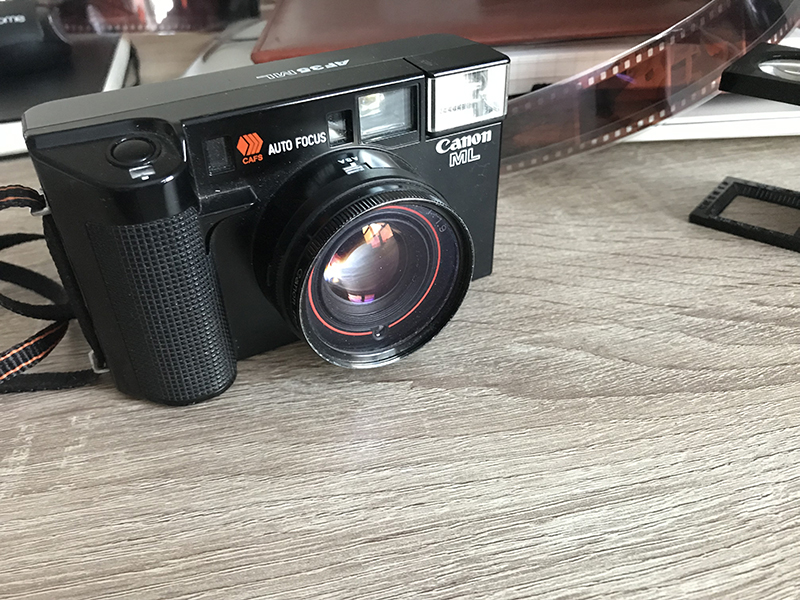
My efforts didn’t turn up a Contax but I did get my hands on a pretty capable camera at a thrift store. I picked up a Canon AF35ML in almost perfect condition for $10 bucks. It fit my requirements perfectly (almost, I will talk about that in a minute). It was cheap, small and was a “full frame” 35mm camera. I could slip it in my pocket and use it whenever I needed. Even better, my family that was traveling with me, didn’t have to put up with the “wait while I get the camera out” moments. I could just pull it out, point, shoot and be on my way.
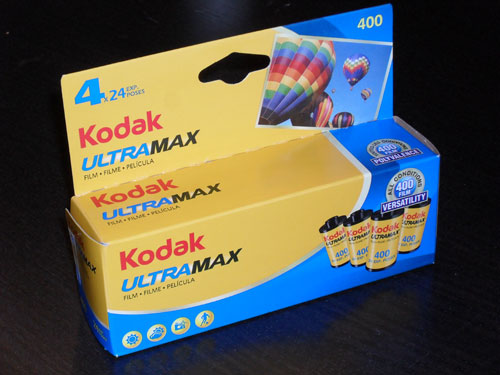
Now, for some film. I wanted to use a bullet proof black and white film that could handle any funny exposure issues I might run into with this little point and shoot rig. One of my go to films is Kodak Tri-x 400. I knew I didn’t have much control over what the camera was doing so I needed a film that had a lot of exposure latitude. Another film I could have used was Illford HP5. It is very similar to Tri-x.
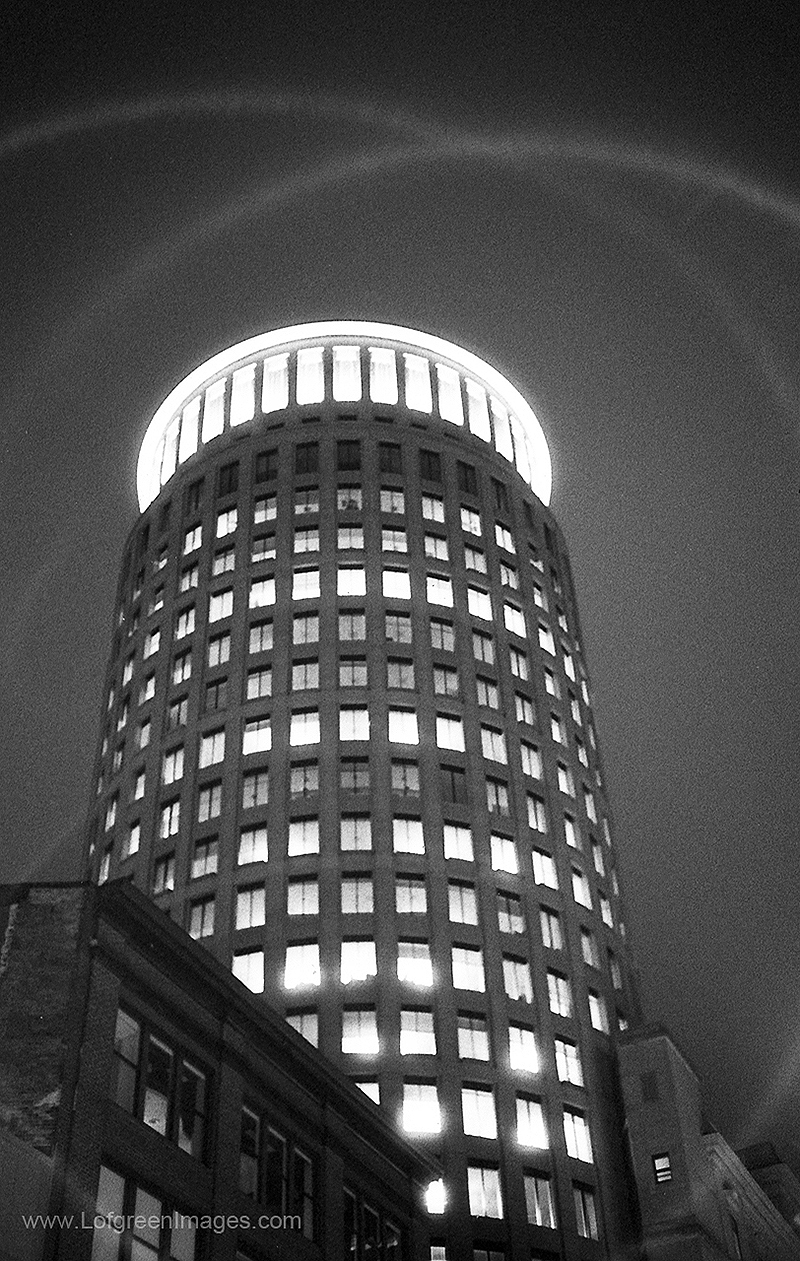
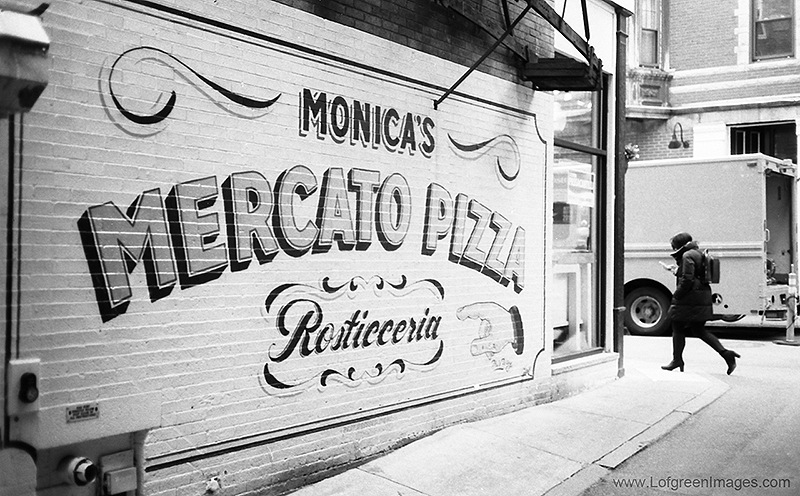
Once I had some film loaded I gave the little camera a spin… The auto focus was fast and smooth and the shutter has a nice quiet “click” when you hit the button. However, the film advance sounded like some sort of electric grinder, “grrr…ick”. So, there was no way I was getting away clean from some street shot of someone walking by me on the street. Bummer. The noise aside, the images this camera produced were fantastic. With a little practice I quickly understood where this camera excelled and where it falls flat on it’s face.
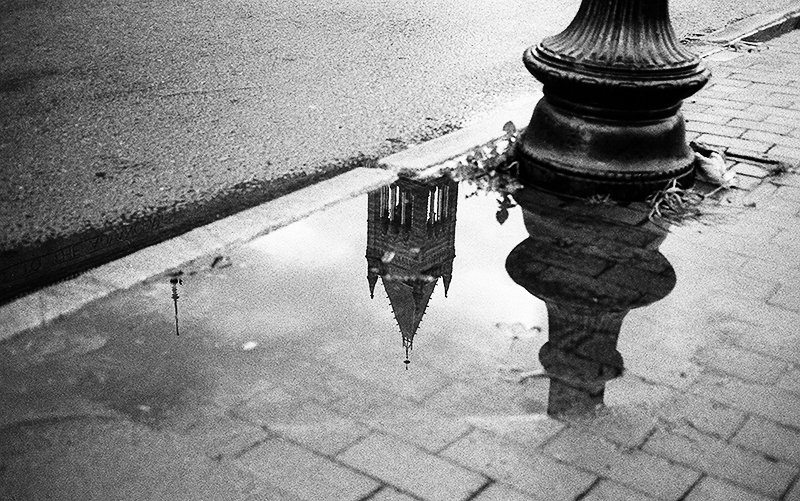
I still use this camera for street snaps and general travel/walk around shooting. My whole point here is that you don’t need to spend a ton of money to make some great photographs. I spent a total of $10 for the camera and about .20 cents a frame to shoot some fun street images. No Leica needed.