Category Archives: Photography tools

Winter Project

Building a Darkroom for Black and White Silver Printing

Over the past few years I have been shooting film without a proper darkroom space to print silver prints. I have been busy with a house move, starting a new job, restoring/remodeling and old house and of course we can throw the Covid pandemic in there for a little fun. With all those things going on along with the normal stuff, I didn’t really have time to focus on a darkroom. When I first moved into the house I am in now I was happy that it had the potential space for one. I told myself some day soon it was going to happen.

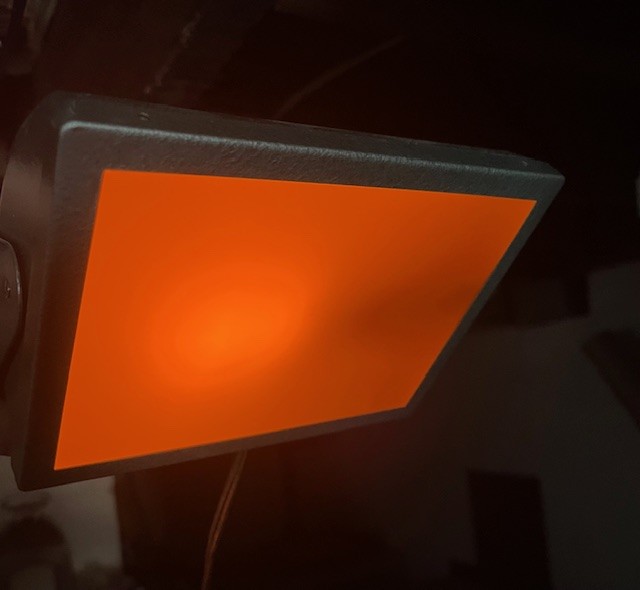
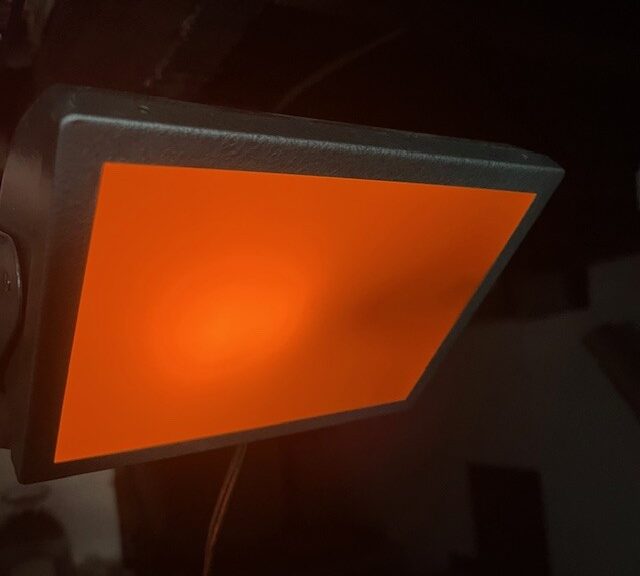
Why would anyone want to spend time in the red and amber light of a darkroom?

“Why would you bother with the whole darkroom thing in this day and age” you may ask. Well, the creative process is different for everyone I would say. Some painters choose to use water color, others use oil and yet another may be carving and block printing. All can be simulated on the computer too. It boils down to the fact that using traditional photographic tools is rewarding to me. Especially when the end result is a beautiful black and white silver print on fiber paper.

I have scanned my negatives, shot with my DSLR and mirrorless cameras for the last few years. Used computer editing etc. and I have some really nice images and prints but for some reason I don’t have the same satisfaction as I do when I look at my darkroom prints. It is always a let down when I print an inkjet print. They look great but it’s just very anticlimactic to me. I can’t really put my finger on it. I enjoy the darkroom process and results more, so I am going with it.

I am dealing with a pretty small space so it will be a modest build. It won’t be fancy, just enough. My goals are to be able to print mostly 8×10 and 11×14 regularly but on occasion I want to print 16×20. That will be another solution to come up with once I finish the build out. I have all I need for equipment. Enlarger, trays, timer etc. What I need to do is design and build a sink that will fit, a stand for the enlarger, add the pluming and some wiring.

The Sink

I have to really plan the size of this sink for the space I have and the size of trays I want to use. The space is roughly 12×5 feet. Long and skinny. I am limited to a 5.5 foot long where the easiest access is for adding the pluming is and it can’t be too wide because I need room for the other stuff.

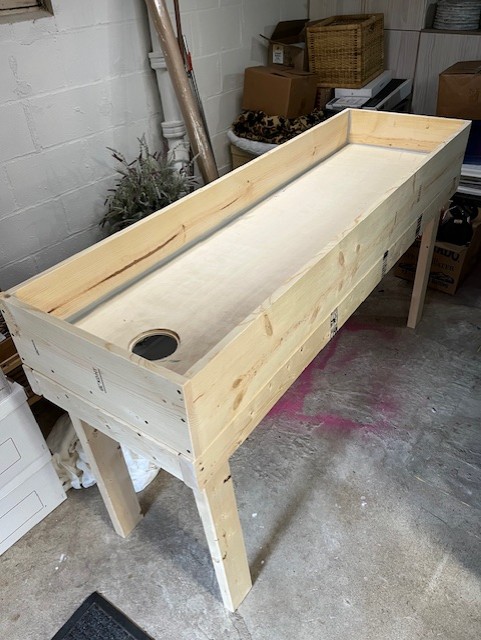
Initial construction of my darkroom sink.
Sink assembled and joints sealed, ready for paint coating.

I have read many forum posts, blog posts and YouTube videos about building a darkroom sink. Frankly I think they go way overboard with building one. Some recommend using marine quality plywood and fiberglass with epoxy resin, or using stainless steel sinks and other materials. I am not planning to set sail in my sink… I mean after all it’s really just a big splash tray with a drain. I don’t have any need to fill it up with water. I wash my prints in trays and the water just flows down the drain. So in keeping with the just enough idea I am building the sink out of simple pine 1/2 plywood, pine 1×8 board, 2×4 and some 1×1/2 stringers. Mostly stuff I have left over from my home remodel. All seems are screwed and filled with strong flexible builder grade exterior caulk. The final coating is a high quality primer and several coats of premium exterior house paint.

Darkroom sink painted and placed in it's intended location.
The sink with its final coatings and in it’s place

Some may po po my approach but the cost to me is almost $0 because I have it lying around anyway. If it fails on me then I can recoat it or just build another one for about $60 and this approach lets me avoid the toxic fumes of resin when I have to work indoors over the winter.

Up Next

The next items on the list will be to build a enlarger stand and some storage for all the bits I’ve had in boxes for the last few years. Once that is out of the way then I will be adding electrical for regular lighting and for safelights, enlarger, print dryer etc. Once I can see things better I will be adding the pluming to this space.

Pluming should be pretty straight forward. I have both hot and cold lines just a few feet away from this space that I will extend to the sink and a floor drain close that will be used for the drain. Of course there will be some things to sort as I go but so far I think the biggest piece is complete. More to come in future posts.


If you like the content I post here on the blog then maybe you will be interested in my email newsletter. I send them out with other news, thoughts and tips on photography as well special print offers. Add your email in the form below. You can unsubscribe anytime, you won’t hurt my feelings.

Why I Stopped Using Adobe Products

There are alternatives to Photoshop and Lightroom

I have had some technical difficulties lately. It started when my Mac decided to start making awful noises whenever I booted it up. Granted, I have had that computer for about a decade so I guess I can’t be to disappointed. It was time for a new computer and I started taking inventory of my software tools wondering if I needed to upgrade them while I was at it. Shortly after, Adobe announced that they changed their terms of use so they can basically take any imagery, photograph or otherwise, from their products to train their A.I. model. That was my tipping point… It was time to dump Adobe.

I have been using Photoshop since version 2.0 and have loved using it. It really is a great tool and so is Lightroom. They are the premier tools for photo editing, design, illustration etc. I have become very familiar with them over the years. However, it seems that Adobe wants to bit the hand that feeds it. Hard.

To leverage the very tools that creatives use against them seems very short sighted to me. I could be wrong. I get it, the A.I. tools can be a real boost to creativity and take ideas further, faster and better. I don’t have a problem with that. It’s the idea that Adobe thinks they can just steal previous customers work to make a tool that will impact the opportunities of other creatives.

I have decided not to participate in Adobe taking advantage of the industry it is supposed to empower.

Now, don’t think I am not aware of all the other A.I. models using images from all corners of the internet, I am. I get it, A.I. can be a really great tool but not at my expense (if I can help it).

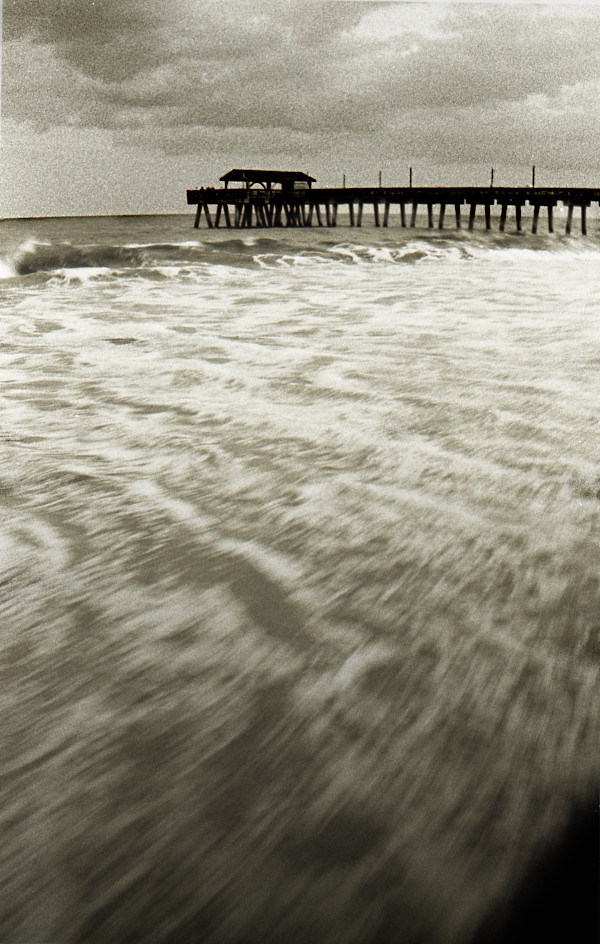
Tybee Beach Pier and Pavilion taken with Nikon F4, Nikkor 35-135mm, Foma 400 film. Processed in GIMP 2.0 instead of Adobe Photoshop.
Tybee Beach Pier and Pavilion, Tybee Island Georgia.

What am I going to use now?

I decided to go for the most affordable (i.e. FREE) solutions first, figuring that if they didn’t meet my needs I wasn’t out of any cash and it could only get better with other tools if these didn’t work out. Right now I am experimenting with GIMP and Darktable for my digital image editing.

I went with these two because there is an extensive developer and user community behind them. They may not get as regular updates as commercial software but they are stable and get updates on a consistent basis. Not to mention their price tag.

What about GIMP?

GIMP is actually pretty good. The above image was an old scan that I had in my archive and decided to run it through GIMP to see if I could take it where I wanted. Overall, I was able to quickly get where I wanted the final image to be. Photoshop users should be able to transition well to GIMP. It does lack two features (and has one bug) that, if weren’t missing, would make it a perfect replacement for me. Your mileage may vary. Remember, I started using Photoshop back in the day when there wasn’t layers…

A good clone healing tool

The clone healing tool in GIMP is a little cumbersome to use. Not as easy as Photoshop. GIMP makes you select a source area of the image and then you use the clone tool to spot dust or whatever you need. It’ not content aware like PS tools. Not perfect but workable.

Adjustment Layers

This is kind of a big one for me. I used adjustment layers in PS all the time. A great way to do none destructive editing on my original image. Without it in GIMP I am required to create copies of layers before I make an adjustment. Just in case I need to go back a step. Not a great workflow. There is a plan for this feature to be in a future release of GIMP but who knows how long it will take. So I will solder on for now with multiple layers, for a while anyway.

Darktable direct export to GIMP 2.0 doesn’t work (known bug)

After doing general edits in Darktable users used to be able to export directly into GIMP. However, since GIMP 2.0 that export from Darktable doesn’t work anymore. It works with older versions of GIMP but not 2.0. That’s a bummer because if you want to go from Darktable to GIMP you need to export a new file to open into GIMP. I am still learning Darktable so I don’t really know how much this will impact my workflow but I expect it could be annoying. A fix is supposed to be in the works but again who knows how long it will be before it’s released.

How about Darktable?

If someone told you Darktable is like Lighroom, don’t believe them. Both are capable and get you there fast but Darktable works differently than Lightroom in many ways. The workflow in Darktable is close enough to Lightroom that I got confused more often than not. I have to unlearn some things in order to use Darktable proficiently. I am by no means an expert or even very proficient in either one so I don’t have much to say about Darktable beyond this. It is powerful, fast and works really well. It’s just a different process. More to come on that one.


Get the latest from me in your inbox

If you like the content I post here on the blog then maybe you will be interested in my email newsletter. I send them out with other news, thoughts and tips on photography as well special print offers. Add your email in the form below. You can unsubscribe anytime, you won’t hurt my feelings.