Like most people I have a day job. Photography is my passion and I am lucky enough to be able to make the kind of photographs I want to make on my terms. However, the day job does sometimes cut into my available time to shoot as often as I would like. So I have to be creative with my time.
Recently I relocated from Montana to Minnesota. Some of you may be saying “What?…” I know. Minnesota is not known for it’s grand vistas, towering mountains and crazy cool wildlife. But it isn’t that bad actually. I haven’t been able to explore much yet, due to Covid-19, starting a new job and renovating a really old house.
I wasn’t going to give up though. I work from home, like a lot of folks nowadays, and my new home office is in the basement. It has a garden level view window right in front of my desk. Little did I realize what a perfect wildlife blind this window would be!
Many times I have early phone/zoom meetings with my colleagues in Asia so I am often at my desk before the sun rises. My home is in a heavily wooded area right next to a huge lake (duh, Minnesota) and I started noticing that many mornings when I was on the phone all sorts of animals were roaming around my garden. They had no idea I was sitting there watching them!
I thought to myself, “here is my opportunity to photograph some wildlife!” I started having a camera with me on my desk every morning when I started work. While I am on calls, muted of course, I can shoot away at all the critters that come by my window. It’s really fun and a challenge.
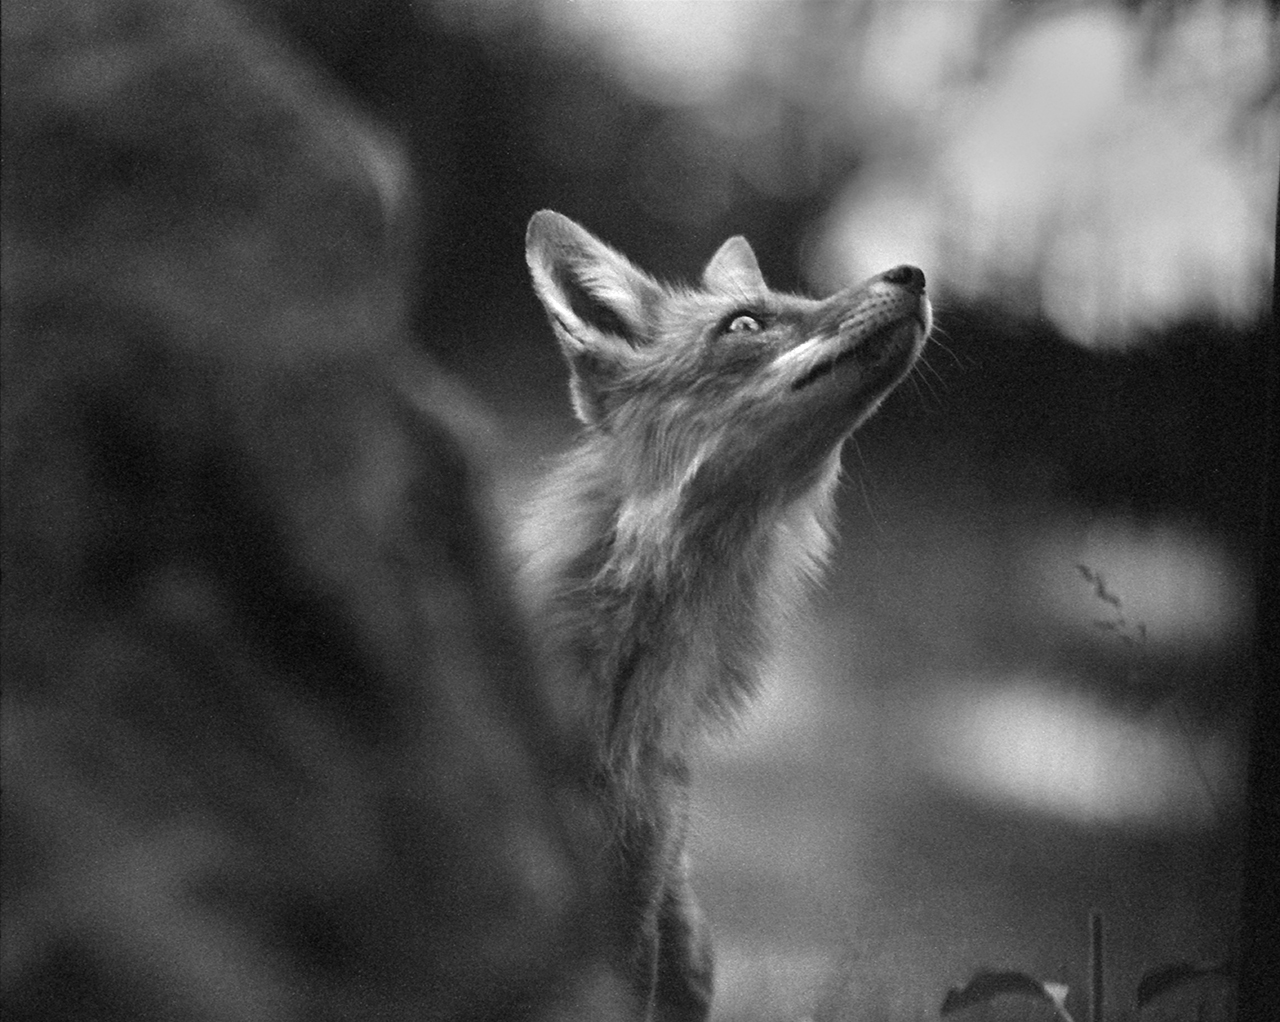
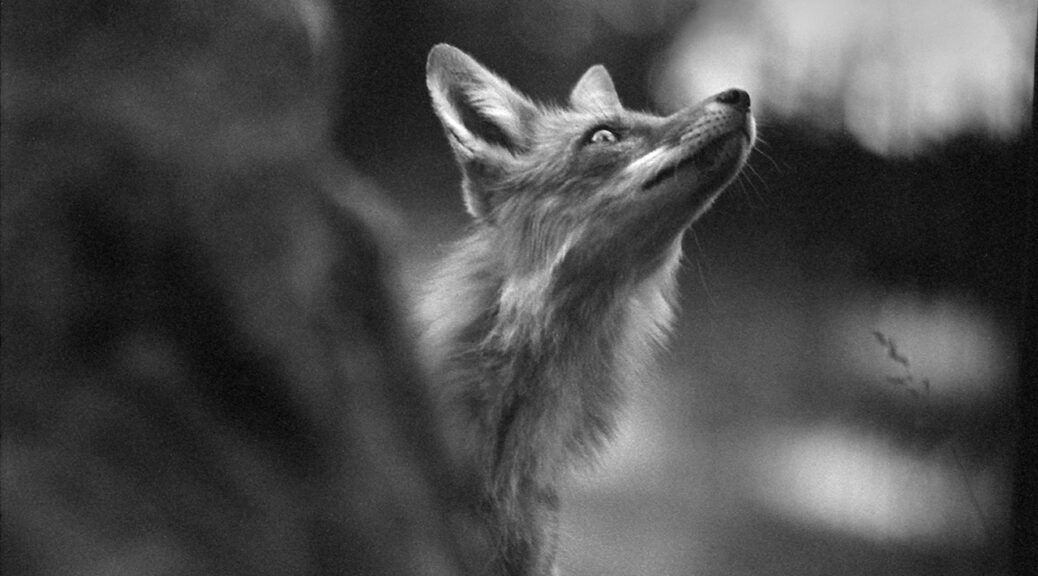
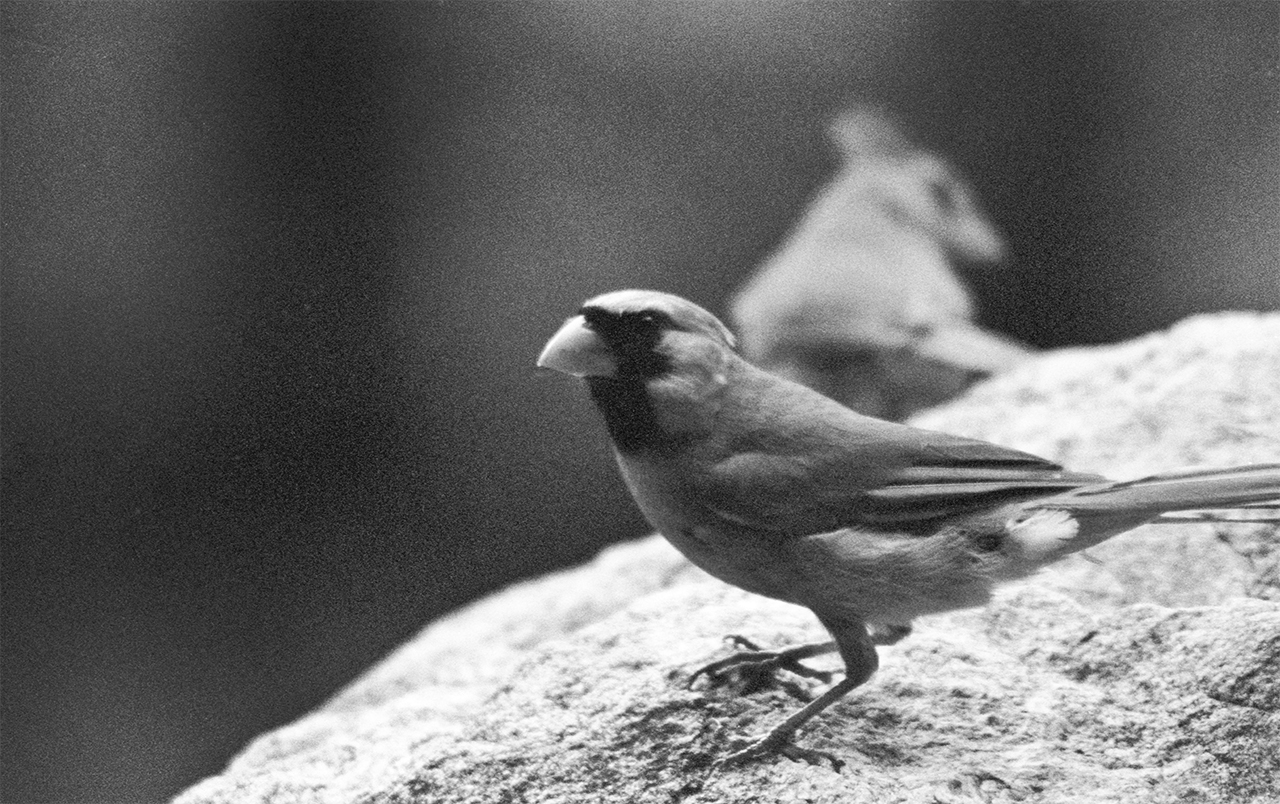
I have the usual squirrels and chipmunks that come by. They have even started to look into the window at me like I am some sort of zoo exhibit for them! Then there are the herds of deer and beautiful birds that stop by. The highlight of my “working” wildlife blind has been the red foxes. They have been really fun to photograph.
Now many of these are not going to be national geographic images. Most are snapshots at best. But I have had a few keepers that I enjoy and have added to my collections. The point is I had to find a way to keep my creativity and my eye exercised to keep making photographs.