
Building a Darkroom for Black and White Silver Printing
Over the past few years I have been shooting film without a proper darkroom space to print silver prints. I have been busy with a house move, starting a new job, restoring/remodeling and old house and of course we can throw the Covid pandemic in there for a little fun. With all those things going on along with the normal stuff, I didn’t really have time to focus on a darkroom. When I first moved into the house I am in now I was happy that it had the potential space for one. I told myself some day soon it was going to happen.

“Why would you bother with the whole darkroom thing in this day and age” you may ask. Well, the creative process is different for everyone I would say. Some painters choose to use water color, others use oil and yet another may be carving and block printing. All can be simulated on the computer too. It boils down to the fact that using traditional photographic tools is rewarding to me. Especially when the end result is a beautiful black and white silver print on fiber paper.
I have scanned my negatives, shot with my DSLR and mirrorless cameras for the last few years. Used computer editing etc. and I have some really nice images and prints but for some reason I don’t have the same satisfaction as I do when I look at my darkroom prints. It is always a let down when I print an inkjet print. They look great but it’s just very anticlimactic to me. I can’t really put my finger on it. I enjoy the darkroom process and results more, so I am going with it.
I am dealing with a pretty small space so it will be a modest build. It won’t be fancy, just enough. My goals are to be able to print mostly 8×10 and 11×14 regularly but on occasion I want to print 16×20. That will be another solution to come up with once I finish the build out. I have all I need for equipment. Enlarger, trays, timer etc. What I need to do is design and build a sink that will fit, a stand for the enlarger, add the pluming and some wiring.
The Sink
I have to really plan the size of this sink for the space I have and the size of trays I want to use. The space is roughly 12×5 feet. Long and skinny. I am limited to a 5.5 foot long where the easiest access is for adding the pluming is and it can’t be too wide because I need room for the other stuff.
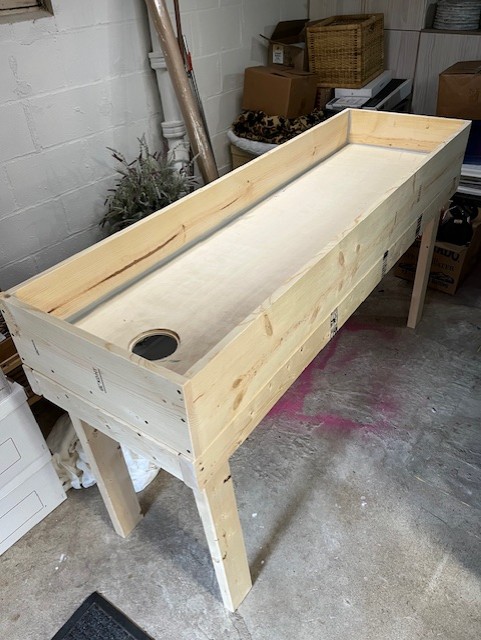
I have read many forum posts, blog posts and YouTube videos about building a darkroom sink. Frankly I think they go way overboard with building one. Some recommend using marine quality plywood and fiberglass with epoxy resin, or using stainless steel sinks and other materials. I am not planning to set sail in my sink… I mean after all it’s really just a big splash tray with a drain. I don’t have any need to fill it up with water. I wash my prints in trays and the water just flows down the drain. So in keeping with the just enough idea I am building the sink out of simple pine 1/2 plywood, pine 1×8 board, 2×4 and some 1×1/2 stringers. Mostly stuff I have left over from my home remodel. All seems are screwed and filled with strong flexible builder grade exterior caulk. The final coating is a high quality primer and several coats of premium exterior house paint.

Some may po po my approach but the cost to me is almost $0 because I have it lying around anyway. If it fails on me then I can recoat it or just build another one for about $60 and this approach lets me avoid the toxic fumes of resin when I have to work indoors over the winter.
Up Next
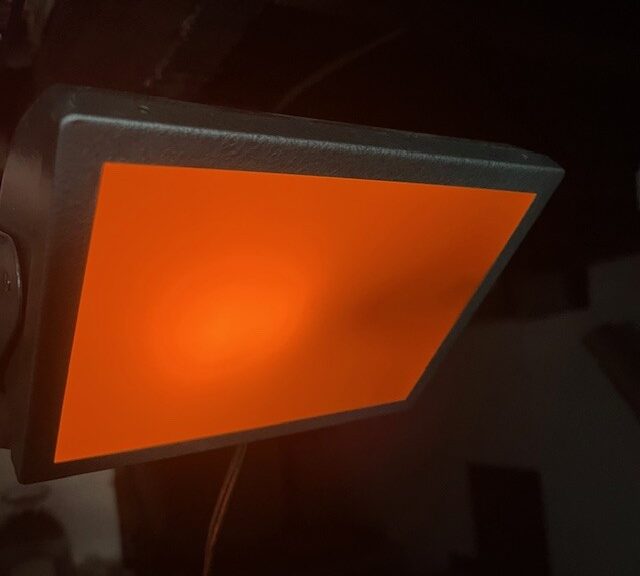
The next items on the list will be to build a enlarger stand and some storage for all the bits I’ve had in boxes for the last few years. Once that is out of the way then I will be adding electrical for regular lighting and for safelights, enlarger, print dryer etc. Once I can see things better I will be adding the pluming to this space.
Pluming should be pretty straight forward. I have both hot and cold lines just a few feet away from this space that I will extend to the sink and a floor drain close that will be used for the drain. Of course there will be some things to sort as I go but so far I think the biggest piece is complete. More to come in future posts.
Get the latest from me in your inbox
If you like the content I post here on the blog then maybe you will be interested in my email newsletter. I send them out with other news, thoughts and tips on photography as well special print offers. Add your email in the form below. You can unsubscribe anytime, you won’t hurt my feelings.