All posts by admin

Repost – Kodak UltraMax Test

This is a re-post of an article I had on my old blog site. It was a popular one even though it wasn’t about black and white film photography. Whenever I can I like to encourage new photographers to try film and this article is a good example of how to get really good images from some really cheap film. Because this was an older post some of the links to external sites may not work.

I have a few more posts planed around how to shoot, process, print, scan and the whole film workflow in coming posts, so check back soon. Enjoy the re-post.

———————————–

Disclaimer: This is not a scientific test, my results may be different than yours and results may vary. 

I have ordered some of the new Kodak Portra 400 film and can’t wait to give it a spin. I have seen some posts on a few other blogs that have shown how wide the exposure latitude of the new film is. You can see some good examples over at Twin Lens Life. They are some great film shooters in the Riverside area. I have also seen a test of Fuji X-tra 400 consumer film that showed how much exposure latitude it has over at Figital Revolution. All films are different and behave differently, that’s the beauty of film. Knowing what you want to get right out of the camera and knowing what film will get you there instead of working for hours in photoshop to get there is a great way to work.

For my example I chose to shoot with some Kodak Ultramax 400. It’s easy to get your hands on and I figure that if someone wanted to start shooting film for the first time, or go back to it for kicks, they would be likely to pick some of this up and start shooting. It breaks down to about $2.50 a roll, not expensive and easy on the wallet.
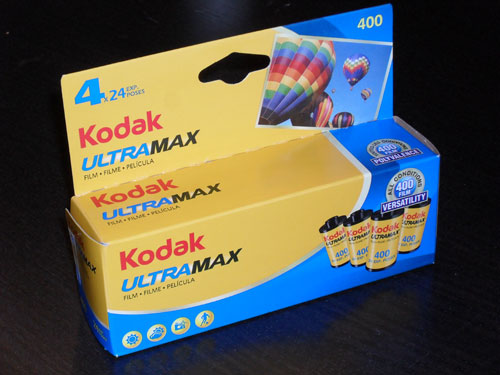
 

Inexpensive color negative film
Kodak UltraMax 400 4 pack @ 24 Exposures for each roll. Single rolls retail for $2.99 each online today.

What I did on my first roll is to expose the first frame at 50 iso and then move each frame after that up one stop, all the way to 6400 iso. I did this so I could find the “sweet spot” to set my iso on my camera. You might be saying “But the box says 400 iso, don’t you set it at 400?”. The short answer is maybe. Just because the box speed says 400 doesn’t mean that you get the best results at 400. In the other examples from Twin Lens Life and Figital Revolution you can see that the films performed really well at just about all speeds. That’s right, you can shoot those films like you can with digital and move the iso around! The Kodak Ultramax however, doesn’t perform so great at 400 or higher (again these are my results, yours may be different). You can see my examples below.
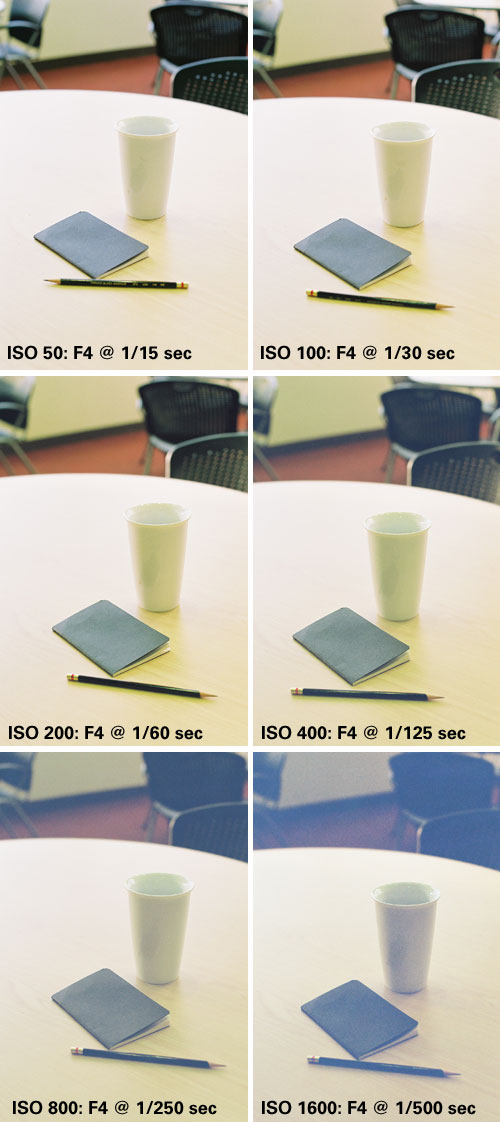
Test exposers of Kodak UltraMax 400 35mm film
Examples of Kodak UltraMax shot at different exposures to determine the best ISO and settings to use with the film.

As you might be able to see, 400 iso is about the max this film can shoot at. It seems that the film starts to flatten out in contrast and the grain starts to get bigger at 400 iso. If a person didn’t know this and was excited to “try film” and shot this at box speed they might be a bit disappointed and think that all film looks like this. Now that I know how this film behaves with my shooting style and camera system I will be shooting this film at 100 iso not 400. The grain structure, color saturation and the blacks seem to be real nice at 100 iso and it still gives me about 2 stops + or – for error and I will still get a nice exposure. If you want to get into shooting film and you chose this film just for “testing it out” you would probably be better off setting your iso at 100 or 200 to start out. I think you will like your photographs more and it wouldn’t discourage you from shooting some more.

Choosing a Composition

Last January, while is was planning my trip to Australia, I was really looking forward to some great opportunities to photograph the opera house in Sydney. In one of my previous posts about being prepared to photograph while traveling I talked about how I tried to plan and be prepared to photograph the opera house during a fireworks display. Needless to say it didn’t work out as well as I had hoped. I was in luck though, I had a few other ideas in mind for photographing the opera house and a few days to get it done.

The opera house is one of those famous landmarks that is photographed all the time. Thousands of people take photos of it. Because the vantage points available to shoot the opera house are limited, many of the photos look the same. I wanted to capture my vision of the opera house, not just the same photo everyone else had. Don’t get me wrong, there are a lot of fantastic photos of it, but I wanted to look hard for something different. Something that was mine.

Storm over Sydney Opera House
Storm over Sydney Opera House. Pentax ME Super, 24mm f2.8, Arista.EDU 400 ISO film

With several days to make my photos, I was able to watch how the light moved throughout the day. I could follow the weather to see how it would change the scene. I got a pretty good sense of the rhythm of the harbor while I was there. Armed with my observations I knew a distinct image would come down to composition.

I always edit my composition in the view finder. Simplify, simplify, simplify. Making sure there is nothing in the composition that did not need to be, is always my goal. I loath cropping my images. For a wide angle shot I had to wait for many of the boats to move clear of my composition. Using a long exposure made for an exercise in patience. Composing for simple lines that create a restful image, is another thing I always try to achieve. Thanks to a great coastal line and the fantastic architecture it wasn’t hard to see for the opera house.

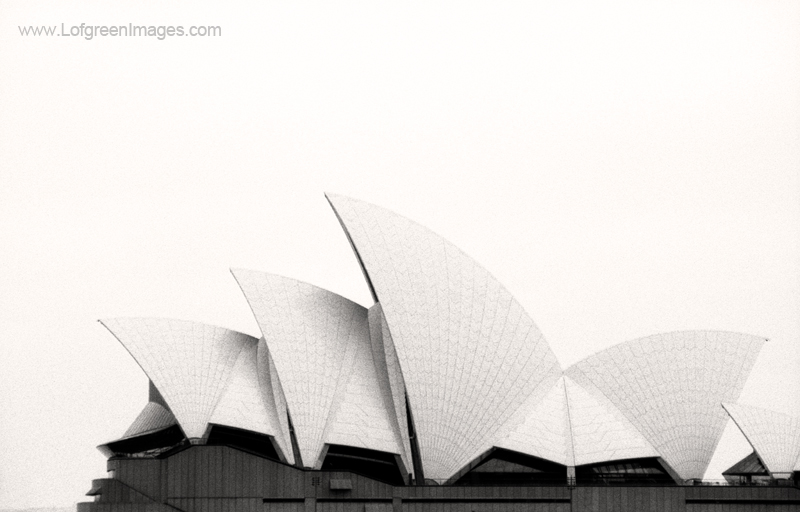
Sails of the Sydney Opera House
Sails of the Sydney Opera House. Pentax ME Super, 24mm f2.4, Arista.EDU 400 iso film

Changing up the composition a bit, I wanted to get the pattern and lines of the architecture of the building itself. Almost an abstract view of the opera house. Maybe this isn’t a very original image but the haze in the air made the sky turn to a creamy white that complemented the white rooftops of the opera house. This high key image removes any distraction and lets the viewer focus on the repetitive nature of the lines in the architecture. Repetition in design.

Overall I am really pleased with the images I was able to create from this trip. There were many that didn’t make the cut but a handful of them are real keepers.

Some Images from Buenos Aires

In my last post, about being prepared when doing some travel photography, I talked a little bit about my short time in Sydney, Australia. I will have more to say about Sydney in following posts. In this post I wanted to talk a little bit about the first stop on my trip, Buenos Aires. To be honest, this was the first time I was able to travel out of the country. Unless going to Tijuana for the day counts. I had no idea what to expect.

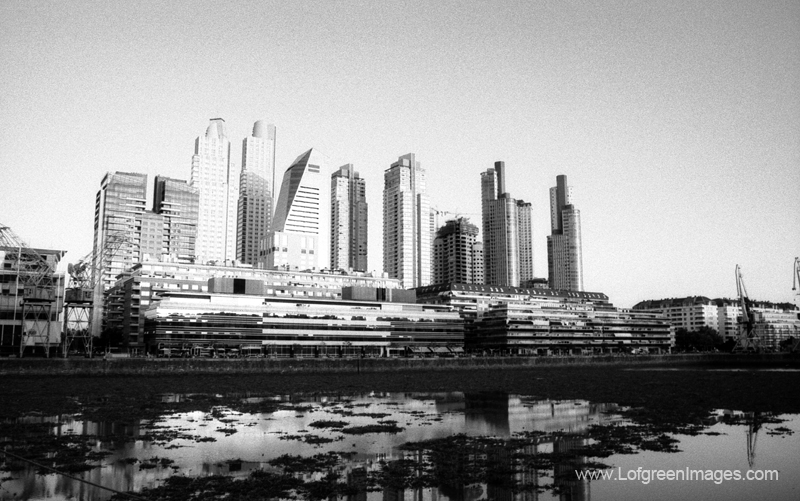
The Puerto Madero commercial district of Buenos Aires, Argentina.
The Puerto Madero commercial district of Buenos Aires, Argentina. Pentax ME Super, 24mm F2.8, Arista.Edu 400


Buenos Aires is a visually inspiring city. Once I made it through the stern faced man in customs I made my to the taxis to get a lift into the city center. With all the windows down the summer heat blowing in all the windows, we made our way down the freeway with the shiny steal and glass buildings of downtown Buenos Aires in the distance. Concrete buildings stacked with balconies covered in drying cloths and satellite dishes whizzed by the window. My photo mind was really stimulated.

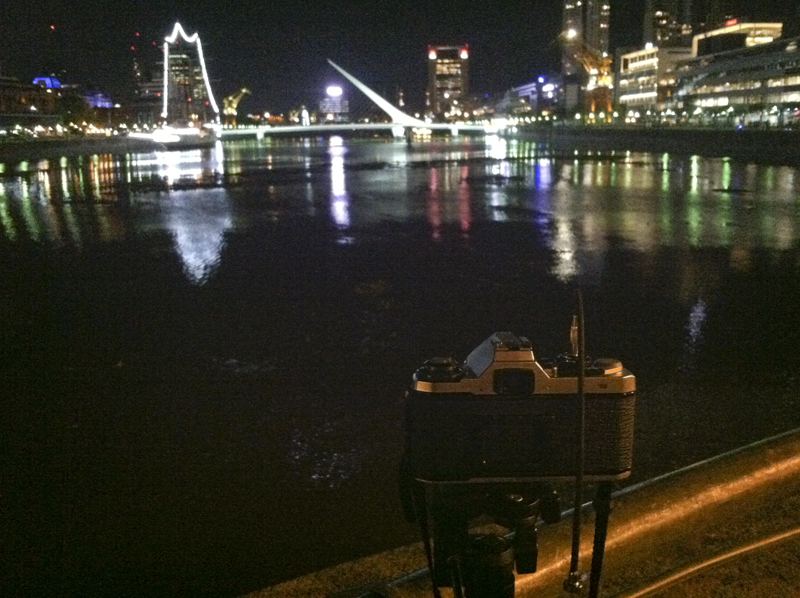
Puente de la Mujer, Buenos Aires
Puente de la Mujer, Buenos Aires. iPhone

The architecture in the city center is wonderful. From old european looking buildings with narrow stone paved streets to new sparkeling sky scrappers.  I was excited to get some nice black and white photos of the area. I only had a few days to spend in Buenos Aires and I was limited to the area I could get too on foot. Luckily for me I was in a really cool area for photographing. I was staying in the Puerto Madero commercial district, where the famous Puente de la Mujer bridge is.

Puente de la Mujer, Buenos Aires
Puente de la Mujer, Buenos Aires. Pentax ME Super, 24mm F2.8, Arista.EDU 400

I was able to get out a few evenings and get some long exposures of the bridge. The weather was great and the area was full of activity with great dining and things to do. Above is one of the final images I made before I left for Sydney.

On Being Prepared (or not)

From my previous post I talked a little bit about a long international trip I took in January. The trip took me to Buenos Aires and Sydney for two weeks of client meetings for my day job. Because I had to pack so light I was limited in how much gear I could take along with me. See my last post on what I took along here.

While planning  my meetings I discovered that I would be in Sydney for the 200th celebration of Australia Day. I had no idea what Australia Day was so I did some research and discovered it is similar to the 4th of July in the U.S. “What luck” I thought, “Maybe I could get a killer night shot of fireworks going off over the Opera House!”. That was my plan…

So I began planning my shot by looking at google maps and satellite views of the area looking for good vantage points. They all had to be within walking distance from my hotel since I would be on foot for the entire duration of my stay in Sydney. There are several vantage points in which I could have chosen to shoot from but I narrowed it down to three. I would scout the area before Australia Day to make my final selection.

Sydney Opera House
My chosen vantage point for the fireworks show. iPhone

Now, when I arrived I was able to get to my selected sites and asked some colleagues where the fireworks would be set off from. Turns out this was billed as the largest fireworks display in the world, ever. So I got pretty excited. The plan was for barges to be towed around the whole peninsula that the Opera House sits on in Sydney Harbor. Now I knew what spot I was going to shoot from.

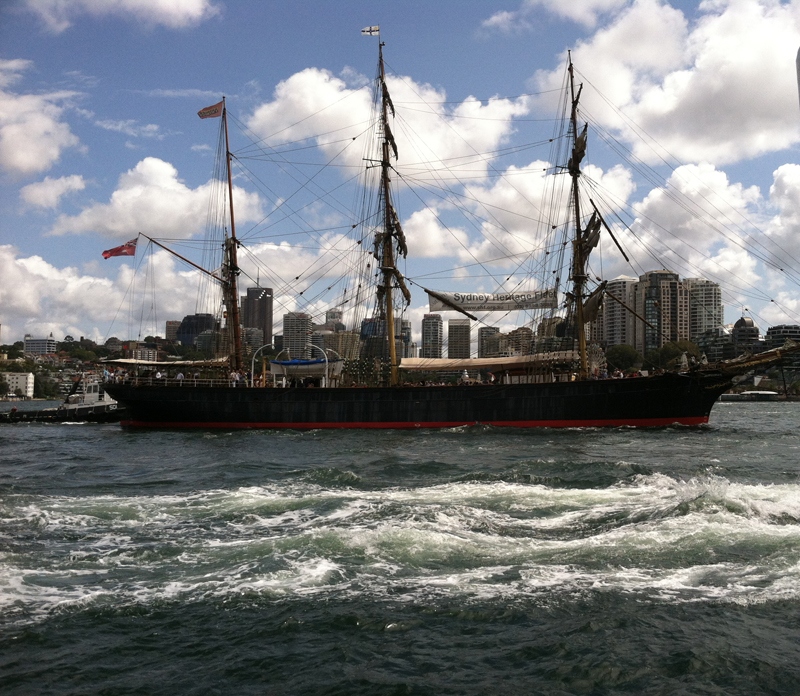
Australia Day arrived and the whole harbor and downtown areas were packed with people celebrating. Wall to wall people, eating, drinking and shopping the temporary craft and art stands that popped up all over. Street performers, corn cob stands and all sorts of carnival type food could be seen every where. The parade of boats in the harbor was so neat to watch. There were tall ships sailing by, followed by fire fighter tug boats spouting water and all sorts of people waving from their boats to everyone on the harbor walk.

Tall Ship motors by on Australia Day boat parade
Tall Ship motors by on Australia Day boat parade. iPhone

With all of the people and commotion going on I thought I had better get my spot staked out well before others get there to get the spot for a shot of there own. So, I gathered my gear up and headed out to a little spot close to the ferry station, across a little stretch of water where I had a clear shot of the Opera House.

Performers entertain crowds during Australia Day
Performers entertain crowds during Australia Day. iPhone

I have had several experiences photographing fireworks in the U.S. So I sort of had this image preconceived in my mind. With that goal in mind I chose my 24mm wide angle lens. This would give me enough coverage to get the reflections of the fire works in the water and the fireworks streaking across the night sky. The weird thing was, the closer it got time for the fireworks  the less people there were. Just before the fireworks were supposed to go off I looked around and there was hardly anyone around. Just me and some folks from Georgia. Who knew!

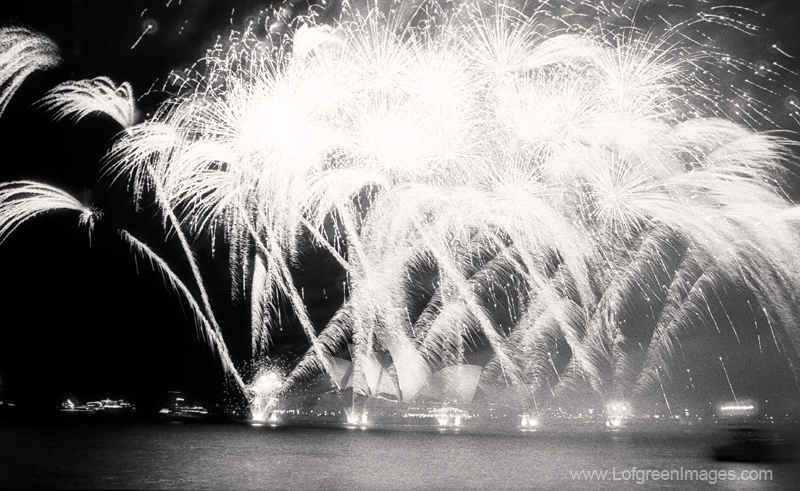
I was ready. Camera on the tripod all set to capture the blossoms of fireworks as they went off one by one. Except… in Australia they set all of them off almost at once! OMG, I was blinded with fireworks filling my view finder! Wow. So, I had to scramble and adjust what I thought would be a good exposure time and start guessing at what I should set my shutter speed to. I got six frames off. Thats it. 6. The fireworks were over.

The only shot that even looked close to what I wanted to capture. Pentax ME Super, 24mm f2.8, Arista.edu 400

Needless to say, I didn’t get any thing like I was hopping for. All the preparation I put into it and zip. But you know what? I had a blast doing it. Sometimes that is how it goes with photography. I am so glad I got to be there and share with the Australians in their celebration no matter if I got my shot or not. Photography can be more about experiences than about the capture.

Impacting Images from A Small Format

I was lucky enough to be able to take a trip to Buenos Aires and Sydney Australia last January. I was traveling for business and had to pack light. If I had my choice I would have left the suit coat and business attire at home and brought my Mamiya 645 gear with me. Considering the level of meetings I was to attend, that was not an option.

Being selective with what gear I was going to take with me was going to be tough. Considering I had never been to either Buenos Aries or Sydney before I didn’t really know what to expect or what to plan for. Because I was going to have to keep my gear to a limit, I would be packing a 35mm kit to save on size and weight.

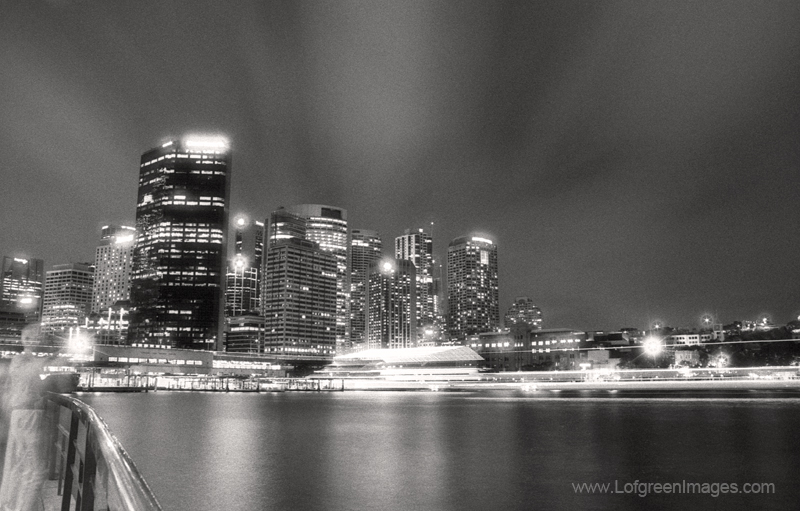
SyndeyHarbor2016_605_SMALLDowntown Sydney Australia, Pentax ME Super, 24mm Lens, Arista.EDU 400 ISO film

The smallest 35mm body I have is a Pentax ME super. It is a really compact camera with a great automatic exposure system as well as full manual control. All in a package as small as a Leica. I love to use this camera for street shooting too. Not to mention I just love the sound of the shutter on this little gem. With the decision made of what camera to take I had to whittle down what my lens choices were going to be.

I knew that my opportunities for photography on this trip were going to be limited to late evening or well after dark. I was hoping to be able to shoot some wide cityscapes but I wasn’t sure how close I could get to the subjects that I wanted to photograph. Also, to make sure I was going to get the most out of a small 35mm negative, I knew I had to stick with prime lenses. I couldn’t afford the distortion of a zoom. With all of that in mind I chose to take my 24mm f2.8 wide angle and my 50mm f1.7 prime lenses. Both small and light.

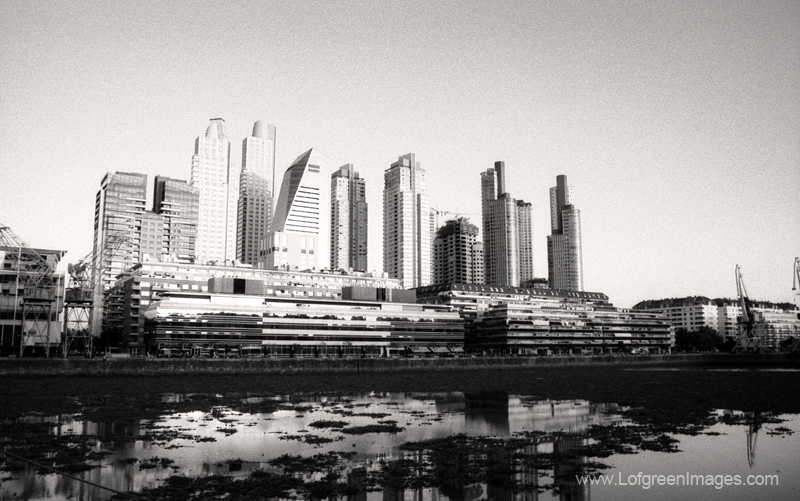
BuenosAries2016_626_ShareDowntown Buenos Aires Argentina, Pentax ME Super, 24mm Lens, Arista.EDU 100 ISO film

For film I wanted to use something that could handle the contrast of night photography and show some texture but not too much grain so I would have enough to work with when enlarging to a big size print. I decided to go with Arista.EDU films, both 100 iso and 400 iso. I really like the classic structure of the image that this film produces. I could have chosen one of the T grain films but thats for another post.

Finally, I had to pick a convenient tripod that would fit in carry on luggage and make sure I had enough batteries, shutter release and any filters I might need.

Between the two cities I was able to expose 6 roles of film. I just happen to be in Sydney for Australia Day (like 4th of July in the U.S.) and got to celebrate with millions of people in downtown Sydney. It was a blast, I just loved the Australian hospitality. Overall I am very pleased with the images I have from the trip. You can see a couple here in this post. It was a great trip and I have several more posts to come with some other images from this trip.

Getting Ready for The Show

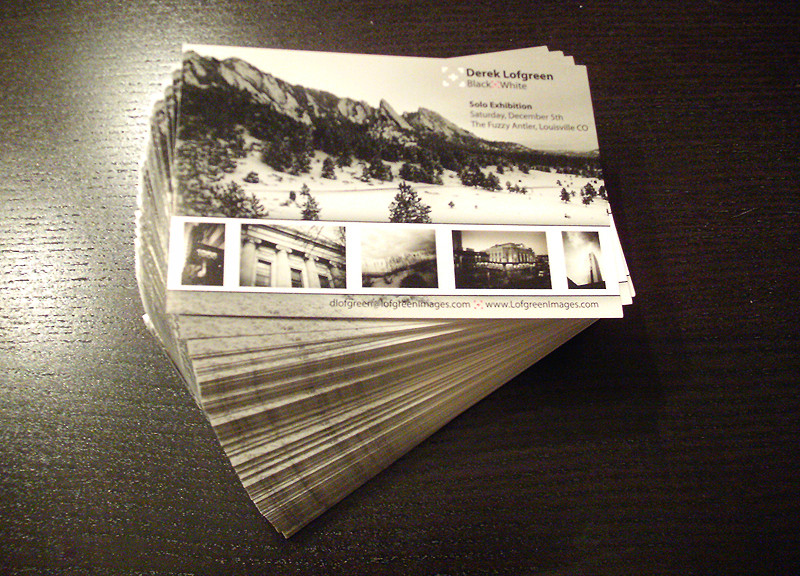
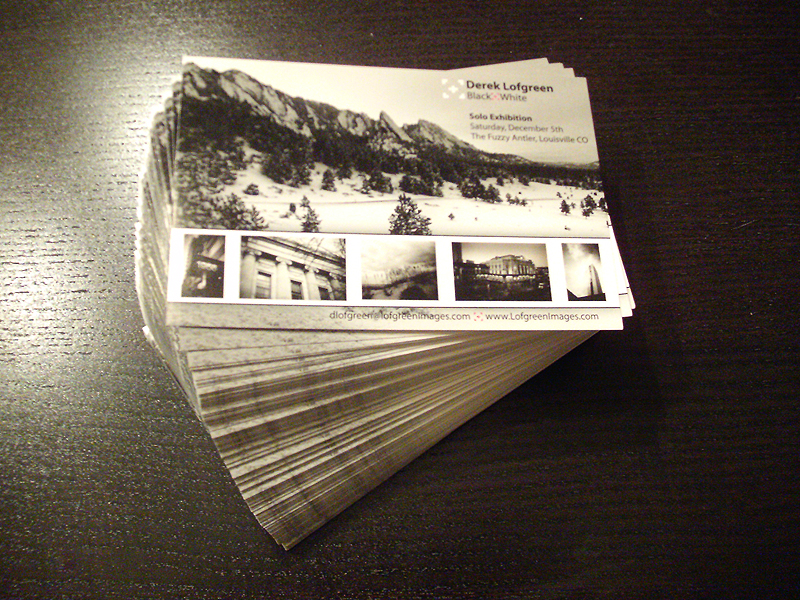
I have been busy planning my solo exhibit at the Fuzzy Antler in Louisville, CO. on December, 5th. If you are looking for something to do on a Saturday night then you found it! Come on by have some wine, visit with me and take a look at some of my new work and grab some dinner at one of the great Louisville restaraunts.

Post Cards
The post cards are ready to go out to all the “cool kids” I can think of.

If you are looking for a unique holiday gift, one of my black and white photographs may be the perfect fit for a friend or family member. I hope you can make some time to come out and say hi.

Keep it Simple

I am excited to announce that I will be having a solo show during the Louisville, CO Friday night art walk. I will be showing some of my prints at the Fuzzy Antler on Friday December 2nd. I hope you all of my readers will be able to come and hang out, drink some wine and look at some of my prints. While I was going through my images to choose the ones I will include in the show I came across an negative that I put on the back burner and then forgot about.

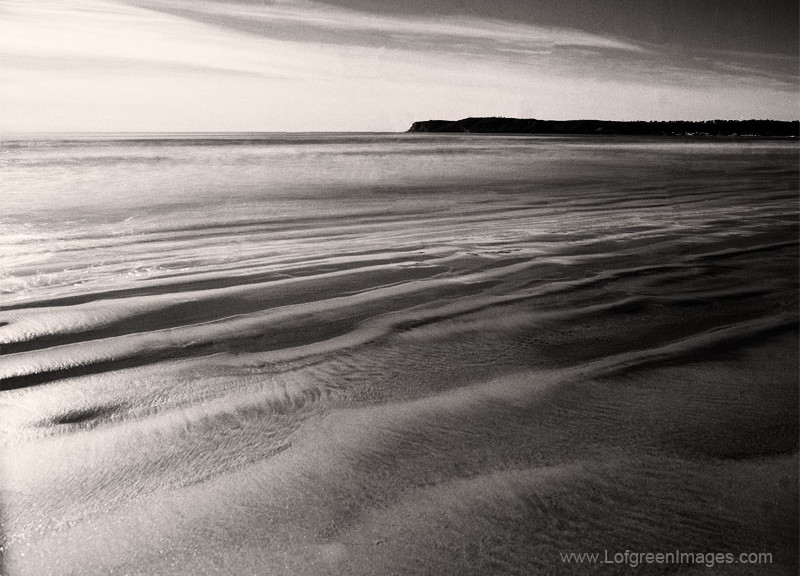
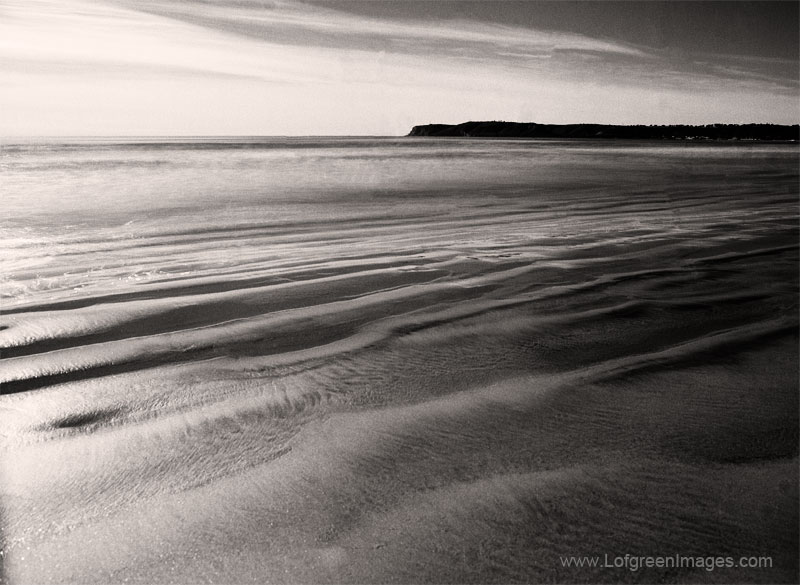
Restful Waters
Point Loma CA on the horizon with Coronado Island beach in the foreground

The reason this image jumped out at me recently is because it is so simple. The amazing thing about black and white photography is how images get more powerful the simpler they become. When you start striping away all of the unnecessary pieces that fall into your viewfinder the more exciting it gets. Then, once you have only the pieces you want and nothing more is when that magic happens and the shutter is tripped. Stripping an image down to its bare essentials, keeping it simple, will always result in a powerful image. Give it a try.

Behind the Shot: Eldorado Canyon State Park

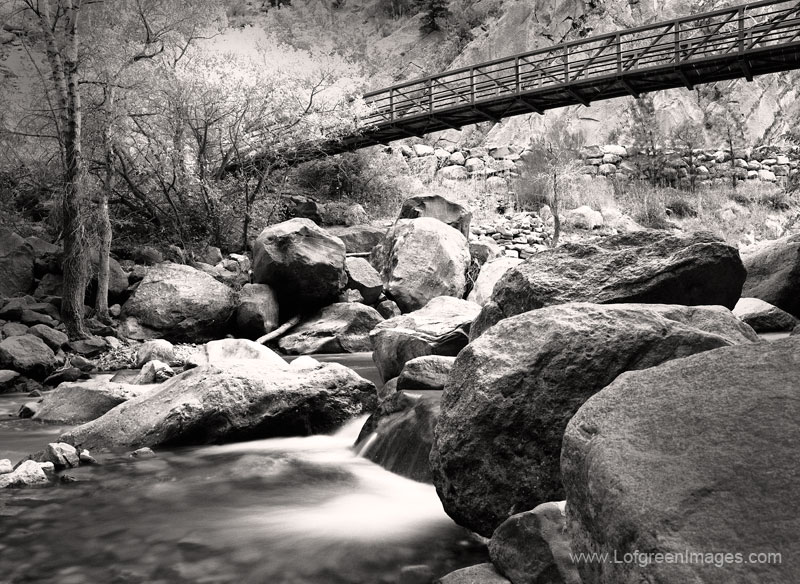
I had a chance to burn a couple of hours and a couple of rolls of film last week. It was late in the afternoon on a Sunday and I needed to take my dog for a walk and I thought “why not take her out to Eldorado before the sun goes down?” I already had my gear all packed up from my previous trip to Arizona when I shot the SFX 200. All I needed to do was grab a couple of rolls of film, the dogs leash and we were off.

When I arrived at the canyon parking lot most of the visitors were leaving for the day. I knew that would make things easier if I wanted a shot without people in it. The sun had gone over the ridge top of the canyon and only the top 1/4 of the canyon walls really had much direct sunlight on them. That left the bottom of the canyon with wonderful soft even light blanketing the rocks and trees. “Perfect”, I thought to myself.

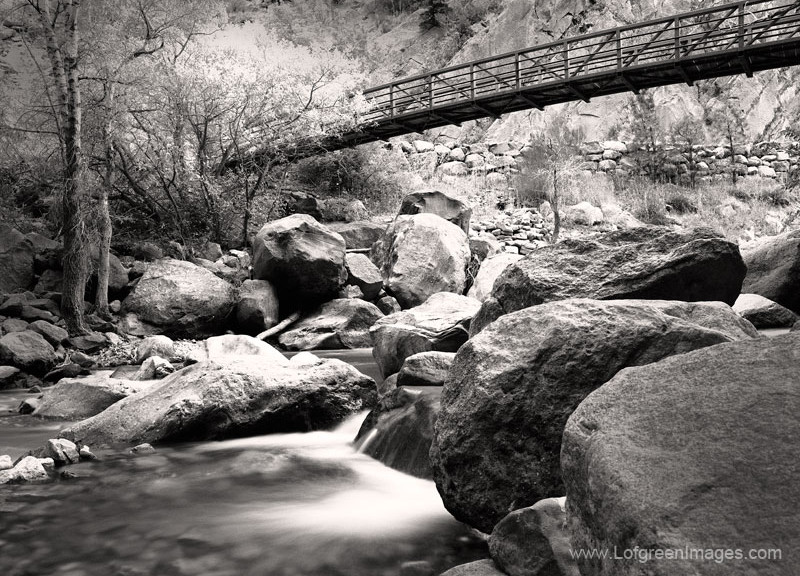
Eldorado Canyon
Looking up South Boulder Creek at the bridge in Eldorado Canyon. Mamiya 645, 45mm f2.8, Kodak T-Max 100, Red Filter

I was hoping to get some soft water shots of the Boulder Creek and the soft light and 100 iso film was going to work out great. I found a spot a few yards downstream from the foot bridge that had a good view upstream of the bridge. After setting up the camera and convincing my dog that this spot was a good spot to stop for a while I took a reading with my light meter. With the soft even light there was not a whole lot of contrast so I threw on a red filter to add a little  pop to the negative. I dialed in the f stop at f16 and based on my meter and compensation for the red filter started to bracket at  1/2 of a second.

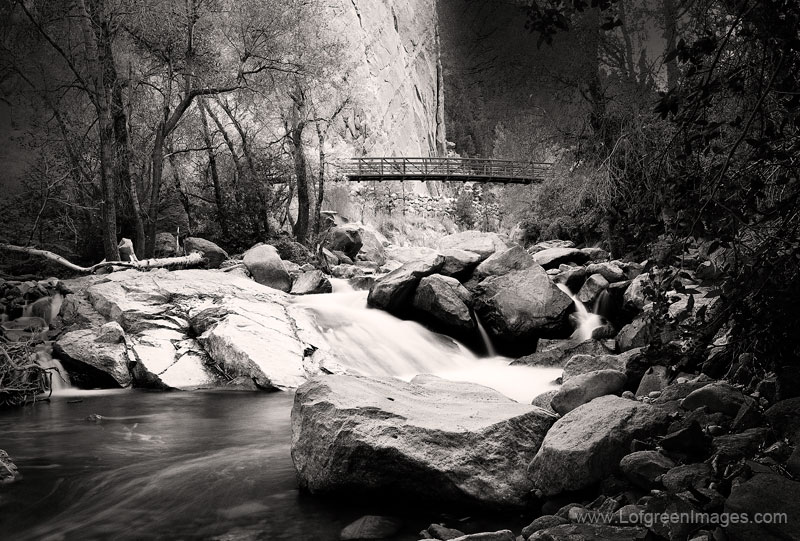
Eldorado Canyon
South Boulder Creek at the bridge in Eldorado Canyon. Mamiya 645, 45mm f2.8, Kodak T-Max 100, Red Filter

Once I was satisfied I had what I needed at the first stop I picked up the gear and followed my dog up the trail a to a closer vantage spot of the bridge over the creek. I pretty much repeated what I did at the first stop but had to compensate for loosing the sunlight as it kept getting darker as it set over the mountains. From there we trekked on up the creekside trail to a few other really nice spots. All in all I got a good handful of images from that little trip to walk the dog.

Behind the Shot: Shooting Infrared with Ilford SFX 200

I have been shooting black and white film for a long time. I am most familiar with regular with films like Tri-X, T-Max, Ilford Delta films and many others like that. In all of my film shooting years I have never shot infrared film. Kodak HIE is long gone and I am kicking myself for not taking the chance to shoot with it. We still have a handful of great infrared films to use and I intend on trying them all. My first experiment with infrared film is with the Ilford SFX 200.

Ilford’s SFX film is not a true infrared film, it is much more sensitive to infrared wavelengths but it’s not truly infrared. It is supposed to be shot at 200 iso but that is if you want to have a pretty normal looking black and white image. It has some more contrast than most film at 200 ISO but nothing like an infrared image. But, Ilford calls this film Special Effects, SFX for short. So, with the extended infrared sensitivity you can achieve infrared like effects with this film!

Shell Station in Elgin
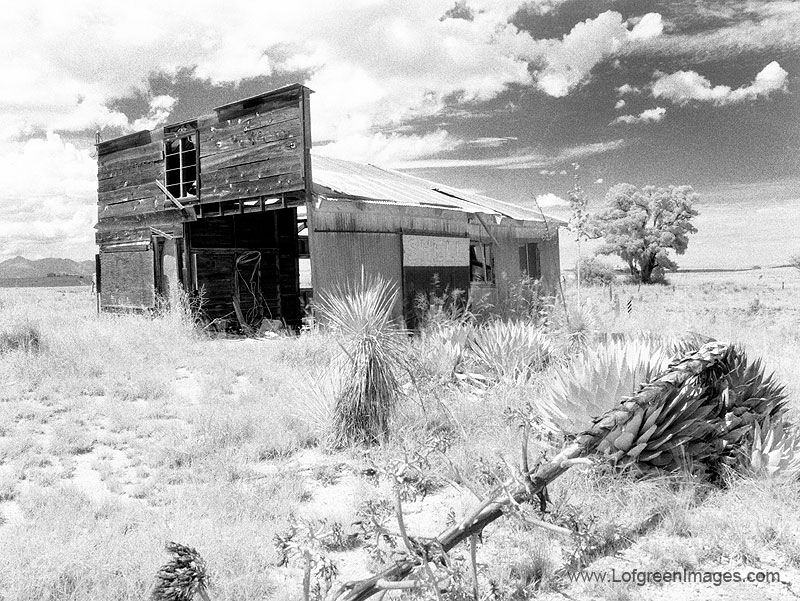
Shot with Illford SFX 200, an abandoned old time Shell gas station still stands in the high country dessert in southern Arizona.

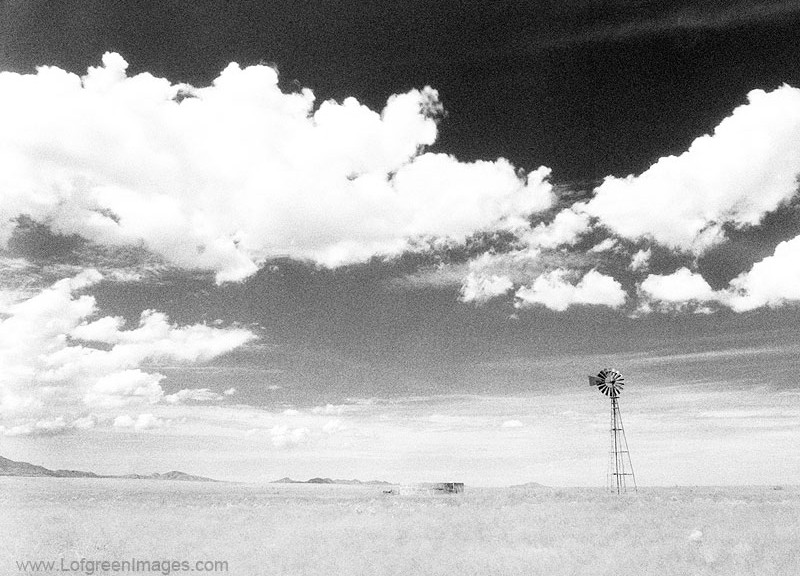
The key to getting an infrared look are two things. The first is to over expose the film. When I say over expose I mean OVER EXPOSE! Like, start shooting this stuff at 6 iso or slower. When SFX is over exposed it turns the the blue sky darker black and all of the green foliage starts to go white because of the extended infrared sensitivity. The image above was shot at mid day, at f16 for 8 seconds.

The second key to getting an infrared look with SFX is to use an infrared filter. It is like a red filter except it filters all light except the infrared wavelength to the film. I used a R72 filter on my Mamiya 645 with a wide angle lens. When you have this filter on the lens you can’t see anything in the view finder because it is so dark. I had to compose without the filter, then attach it to the lens before I made the exposure.

Arizona Windmill
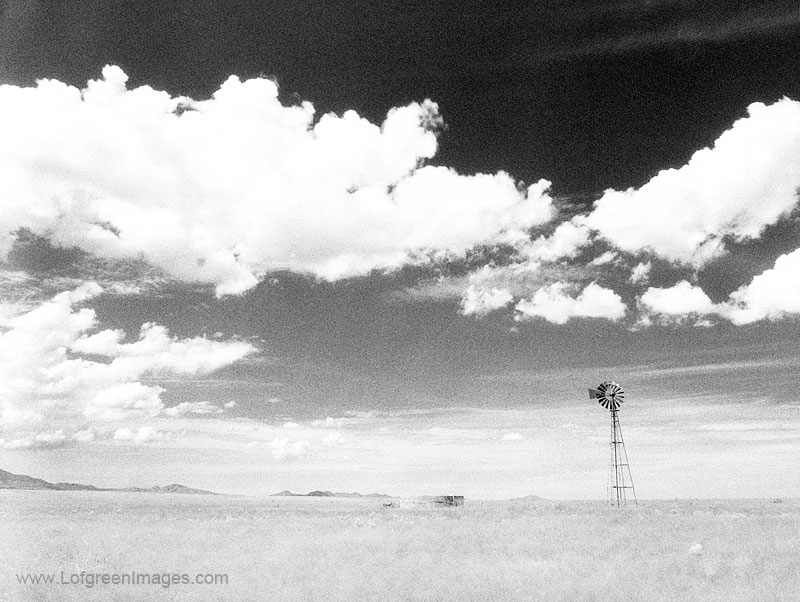
Shot with Ilford SFX 200, a windmill in the desert of Arizona pumps water for grazing cattle.

I will defiantly shoot this film again. The great thing about using this film is that it loves mid day sun. So, if you don’t have a good window of time to shoot in the early morning or late afternoon it’s a great film to use in the middle of the day when the sun is really shining. I will give it another try somewhere with very green vegetation so I can get the most out of the contrast when the greens go white.

Film is Still Alive: Montana State University Bookstore

A couple of weeks ago I was able to take some time off and take my youngest son to college to start his freshman year at Montana State University in Bozeman. He is going to study film and photography (apple doesn’t fall far from the tree). As we were getting all of his books for his classes at the MSU bookstore we came across the art supply section. Low and behold… the film photography supply shelves! It was so refreshing to see several flavors of black and white film,  in everything from 35mm to 4×5.

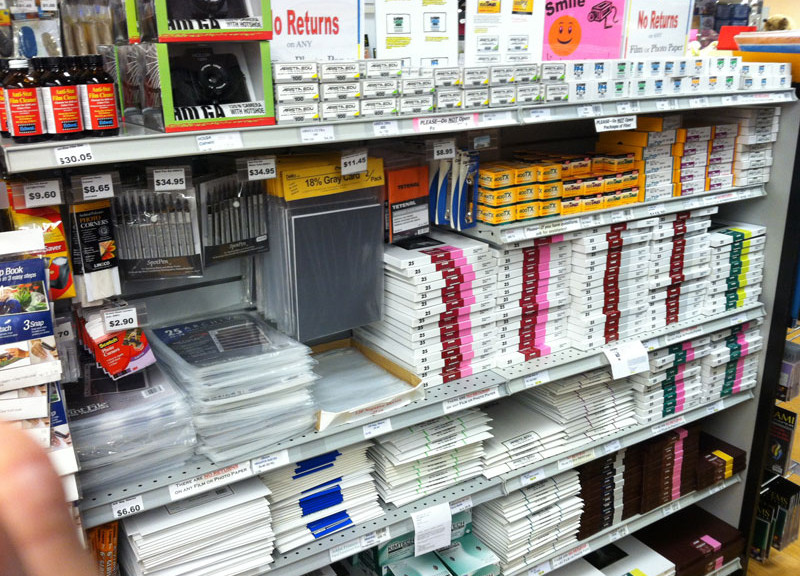
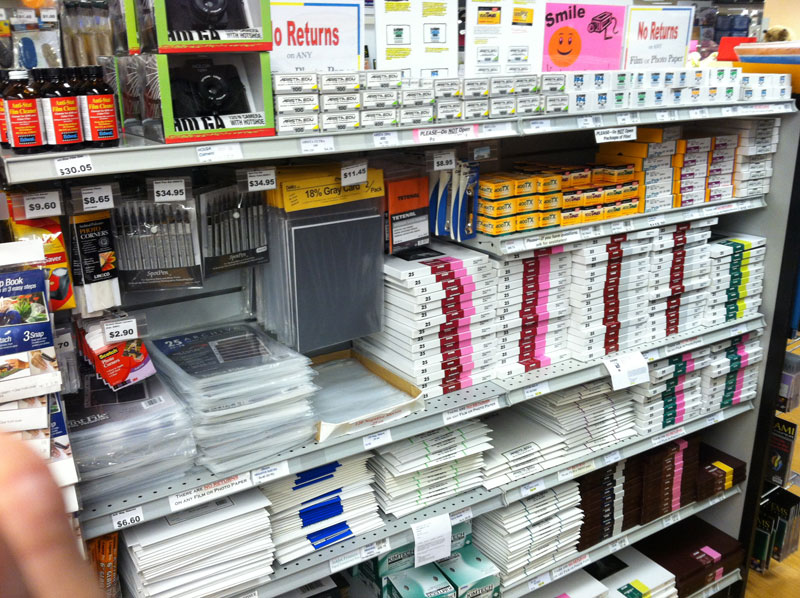
Montana State University BW film supplies
The Montana State University bookstore stocks some pretty great BW photography materials for the students. From 35mm, 120 and large format film to a variety of papers and supplies.

There was more than film on those shelves too. Grey cards, film sleeves, and paper. Lots and lots of darkroom paper. MSU has such a nice darkroom facility I just about fell over when I toured it. So all this nice paper will go to use for sure.

With so many high school photography departments abandoning traditional film photography it is so important for the higher educational institutions to carry on with all of the different photographic processes, including digital.

I was just drooling when I got to see the facility and equipment my son will be able to use. If you want to shoot 8×10, super 16mm, Red, or wet plate, no problem. They have it all.